Last year, I discovered a great solitaire game called The Wars of Marcus Aurelius from Hollandspiele that dealt with the Romans attempting to pacify Barbarian hordes from the north in the Danube provinces during the Marcomannic Wars in 170-180 AD. Now the designer has taken that system and applied it to another period in Roman history when the Goths and Vandals, as well as a pretender named Constantine, were assaulting Rome itself and one man was asked to defend her from her enemies. Flavius Stilicho was a high-ranking general who rose from humble beginnings to become one of the most powerful men in the Western Roman Empire. After many years of victories against a number of enemies, both barbarian and Roman, a series of political and military disasters finally allowed his enemies in the court of Honorius to remove him from power, culminating in his arrest and subsequent execution in 408.
In Stilicho: Last of the Romans the player must survive these attacks from enemies both external and internal and quell all three advancing enemies.
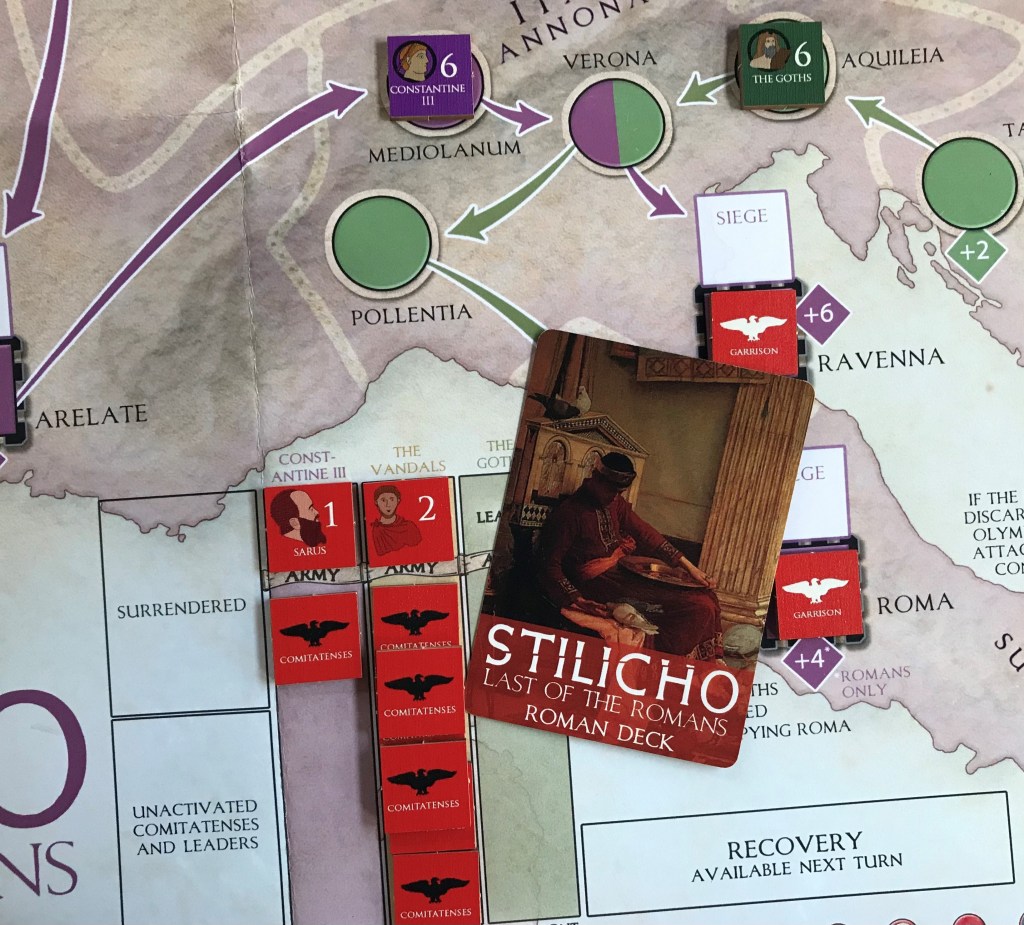
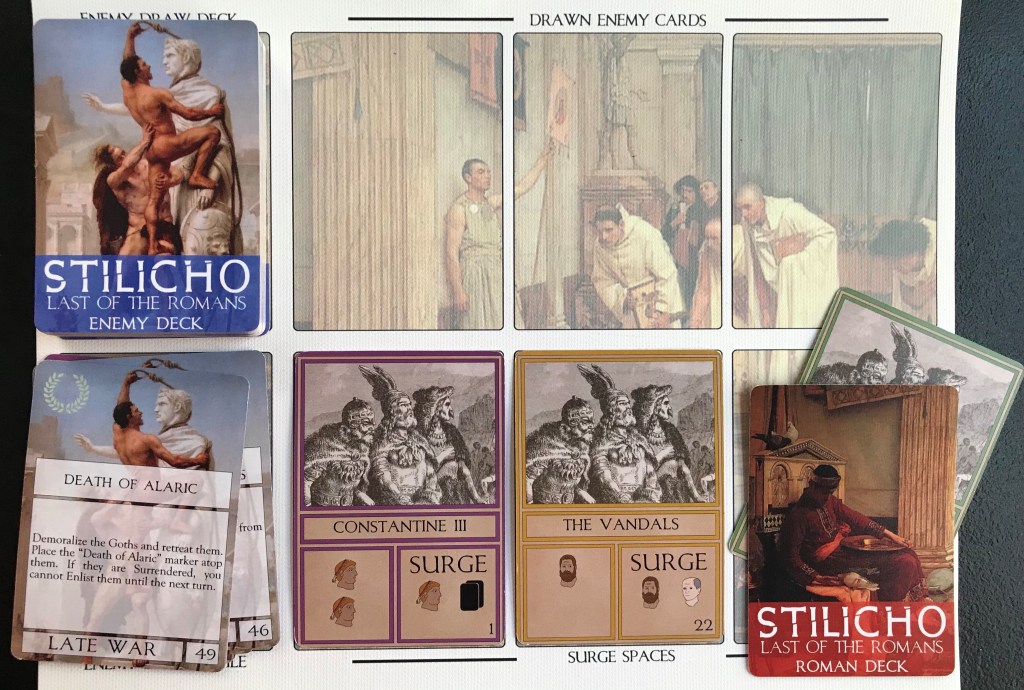
In Action Point 1, we covered the Mapsheet focusing on the three Fronts down which your enemies advance, but also covering the different spaces and boxes that effect play such as the Olympius Track, Game Turn Track, Army Box, Leader Box and Recovery Box. In Action Point 2, we looked at the cards that drive the game and examined the makeup of both the Enemy Deck and the Roman Deck. In this Action Point, we will take a deeper look into the Roman Phase and examine how cards are discarded to take one of nine different actions.
Roman Actions
In our last Action Point we discussed how Roman Cards can be played for the Events printed on the cards. But, there is another way to use cards in the game for the Roman player and that is to discard them to take one of nine different actions. When a card is discarded to take an Action all Event text on the card is ignored. Another important distinction is that History Cards (cards with laurels printed in the upper left hand corner) that are discarded like this are placed in the discard pile and are not removed to the History Pile and can be drawn at a later time when the deck gets reshuffled and used as a History Card. It is also important to know that a total of 8 of the cards in the Roman Deck are simply titled Action Card and can only be used to discard for an action.
The 9 different actions available by discarding a card are Reserve Action, Attack an Enemy, Enlist the Goths or Constantine III, Counter Olympius, Transfer a Leader and/or Comitatenses, Place Garrisons, Suppress Unrest or Revolt, End a Mutiny and Prevent a Surge.
Reserve Action
The Reserve Action is a back up plan that happens after you have performed another action by rolling a die to determine its success and found the result lacking. The concept of this Reserve Action is that the Romans commit extra available troops held in reserve, additional money to grease the correct tribal palm or the use of political capital to swing the outcome in your favor.
For each card discarded as a Reserve Action, +1 will be added to the already made die roll. You may discard as many cards as you feel you need to, adding +1 to the die roll for each card discarded. This Reserve Action may only be used to boost a few of the actions available including Attack an Enemy, Counter Olympius and Suppress Unrest or Revolt in provinces.
You can also use a Reserve Action during the Enemy Phase to aid one of your Garrisons that is being attacked by an Enemy. This Reserve Action should only be used in extreme circumstances when failing a roll is really bad. The reason that I say that is that you are literally burning your resources in the form of cards to gain a marginal increase in a result. For each card you discard in this manner, you are foregoing another action that you could be performing on the board that might be more important to your success. You just need to consider what you are doing as you are discarding your cards. And, I would say never discard more than one card for this action. If you miss by 2, then tough. Just try harder and roll better next time! Because your cards are limited you just can’t afford to throw them away. Personally, I have only really done this Action a handful of times as it simply is a waste unless you are in trouble and there is no other choice. Then it is definitely not a waste and may be the only thing that saves you from defeat.

Attack an Enemy
The Attack an Enemy Action allows one of your Armies to Attack the
Enemy located on the Front associated with that specific Army Box. The card that is being discarded to take this Action cannot be used for the Event text written on the card. The discard actually commences the Action and is the price paid for the Attack. Think of it as the logistical machinations of supply, commands from Generals ordering movement and localized leadership issuing the order.
We will not cover the full resolution of a Battle in this part of the series, but will pick that up in the next Action Point. But the process involves adding up the strength of your Army, playing any Event Cards to modify the Battle before rolling a die and then comparing that to the total strength of the Enemy you are attacking modified by the Defense Value of the Terrain or the Unrest/Revolt Value of the Diocese where the attack is taking place and adding in a die roll.
The player may then decide to modify their own Total Attack Value
through the play of Reserve Actions by discarding a card or the play of special Event Cards. Attacking the Enemy is one of the most important parts of the game and generally is the only way to get them to retreat backward toward their Home Space where you can force them to surrender.
Enlist the Goths or Constantine III
What is that old saying? The Enemy of my Enemy is my friend! This statement holds sway in this game as you will want to get to the point where you have the ability to Enlist your defeated Enemies to assist you in defeating those that are still causing issues for the Empire.
Once the Goths or Constantine III have Surrendered, the player can Enlist them to aid you in your fight against the remaining Enemies. This is definitely an Action that you will have to use as you drive your Enemies deeper into their own territory and the Defense Values of the spaces increase. The cost of discarding the card represents the resources you must pay the Goths or Constantine III’s former soldiers to fight for you. They had allegiance to their leaders but now that they have been defeated are hungry for more Battle and are willing to act as mercenaries.
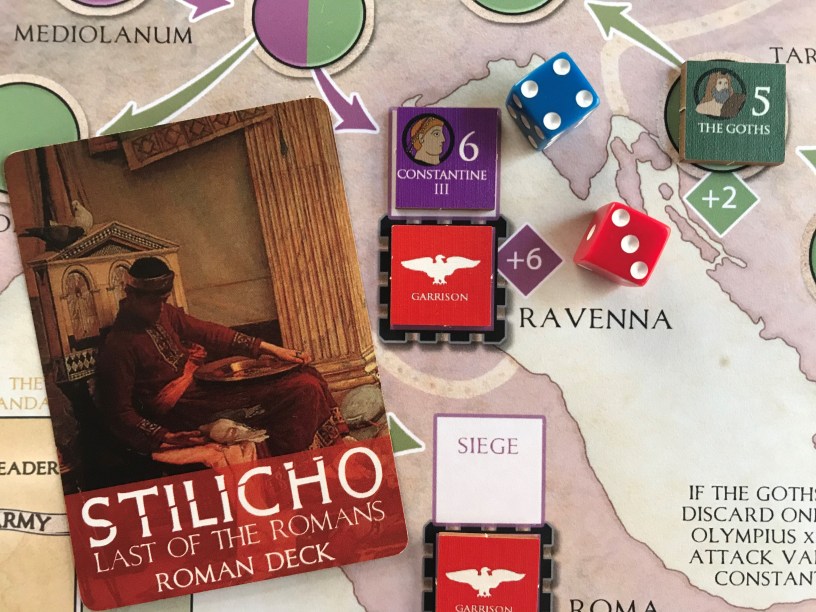
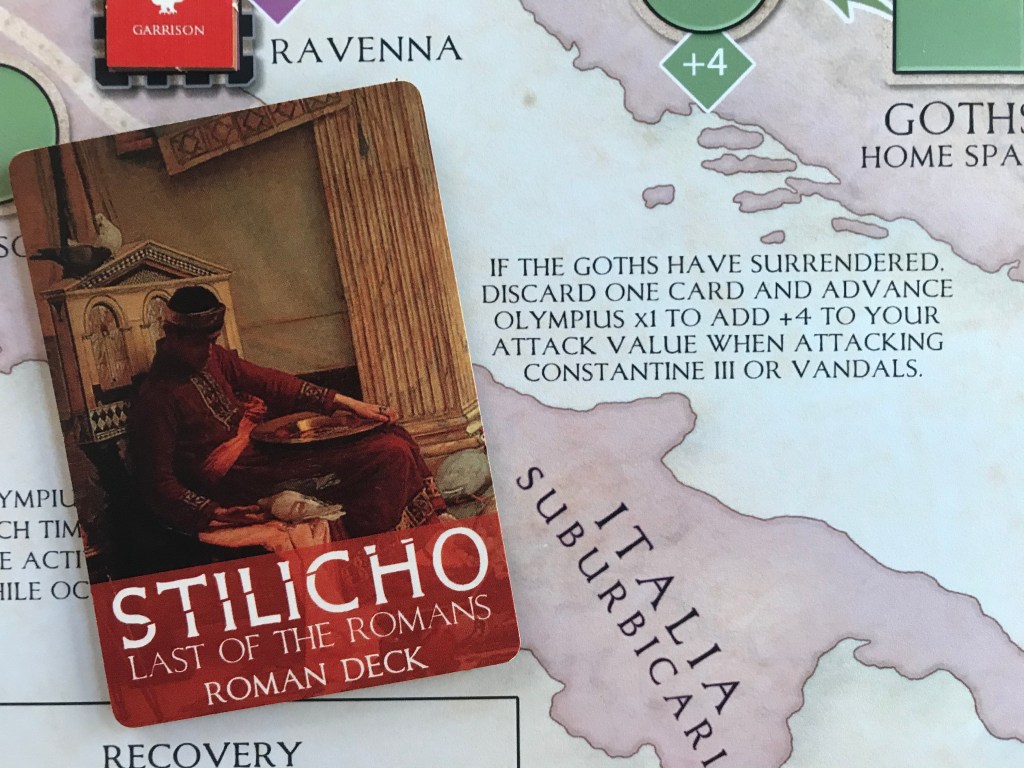
The Goths can be Enlisted to attack either Constantine III or the Vandals and Constantine III can be Enlisted to attack the Goths and Vandals. This Enlist of your Surrendered Enemy grants you a +4 (Goths) or +5 (Constantine III) bonus to your Attack. To Enlist the Goths and add +4 to your Attack Value against Constantine III or the Vandals, the player must simply discard one card to take the action, but there is also a penalty to this. You will also have to advance Olympius one space up the Olympius Track. Remember that if Olympius reaches the end of this track then you automatically lose so this decision must be made with that in mind. The penalty of Olympius advancing represents the political capital that you must expend in the Court of Honorius for employing Rome’s former enemies. Things are desperate but not that desperate so you have to fight against that negative sentiment that is generated and is used by an opportunistic Olympius.

To Enlist Constantine III and add +5 to your Attack Value against the Goths or the Vandals, the player must also discard one card to take the action, and will advance Olympius one space as well. Remember that the card you have to discard to take the Enlist Action is in addition to the card you already had discarded to take the original Attack Action. There is no free lunch in this game! You can Enlist both the Goths and Constantine III against the Vandals if you are so inclined but this is massively expensive as you must discard a total of three cards and advance Olympius two spaces. I would recommend that this is only used for the final final Attack on the Vandals who are holed up in their Home Space and you are simply trying to make sure you can’t fail.
Counter Olympius
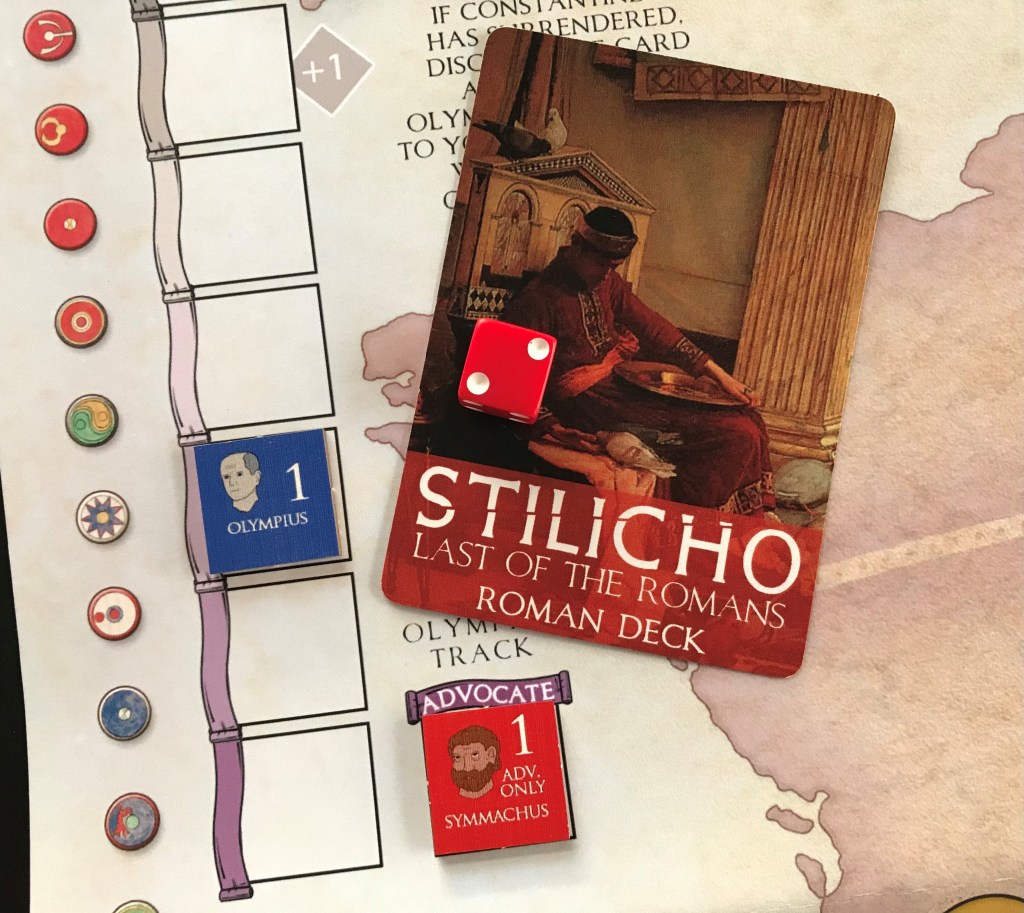
The Counter Olympius Action allows the player to disrupt Olympius’s plot against you in the court of Emperor Honorius. The Action is simple and requires the player to discard a card to then roll one die and add it to the Attack Value of whatever Leader is located in the Advocate Box. This is typically Symmachus as he can only be used in this role and cannot lead troops on the Fronts but can be any other Leader. If this total is greater than the sum of Olympius’s printed value on his counter, which is either a 1 or 2, plus the Difficulty Value of the space he occupies on his track (0, 1, or 2), Olympius retreats one space. If there is tie, the player will reroll. The player can also take a Reserve Action to modify the total by discarding a card to add +1.
Olympius can really be the source of a lot of trouble as if he reaches the end of his track you will lose your head and this is sometimes out of your hands as he can be moved from you rolling a 1 on an Attack led by Stilicho, from Enemy Event Cards or from Surge Effects. You simply cannot let this get out of control and I feel that you must address this before the Difficulty Values on the track increase to above +1.
Transfer a Leader and/or Comitatenses
The Transfer a Leader and/or Comitatenses Action allows you to move Leaders and/or Comitatenses around the map to where you need them in the case of an emergency or due to poor luck. These can be moved in several different ways.
Move one Leader and/or up to 6 Comitatenses from one Army Box to another. This might be done because you have caused one Enemy to Surrender and want to not waste the rest of your turn and move your attention to another Front or if there has been crazy progress made by Constantine III on his Front and he is at the Gates of Ravenna knocking on the door (remember you will lose if Ravenna falls!). I like the flexibility in this Action but caution that you should use it only when you really have no other choice as you can reorganize at the start of a new Turn for free. If there is already a Leader present in the destination Army Box, the player can either switch places with the new Leader, or move that Leader to the Recovery Box.

The player can also move one Leader from any Leader Box to the Advocate Box on the Olympius Track. Once again this would be done as you are concerned about the progress of Olympius and need a better bonus to your Counter Olympius Actions in order to ensure success. If there is already a Leader present in the Advocate Box, they can either switch places with the
new Leader or be moved to the Recovery Box.
Place Garrisons
I am going to come out and say it….Garrisons are pretty much useless! They really only act as a speed bump for your Enemies and have very little real possibility of winning a Battle and stopping the advance of your Enemies. But, in the right circumstance, and with the right cards in hand, this can be a lifesaver.
The Garrison Action allows players to take as many Comitatenses as is desired from a single Army Box and place them as Garrisons on any Fronts or in Walled Cities. Only one Garrison can be placed in a space though. If the player wants to place Garrisons from more than one Army Box though, it will require the discard of a card for each of the different Boxes.
Suppress Unrest or Revolt
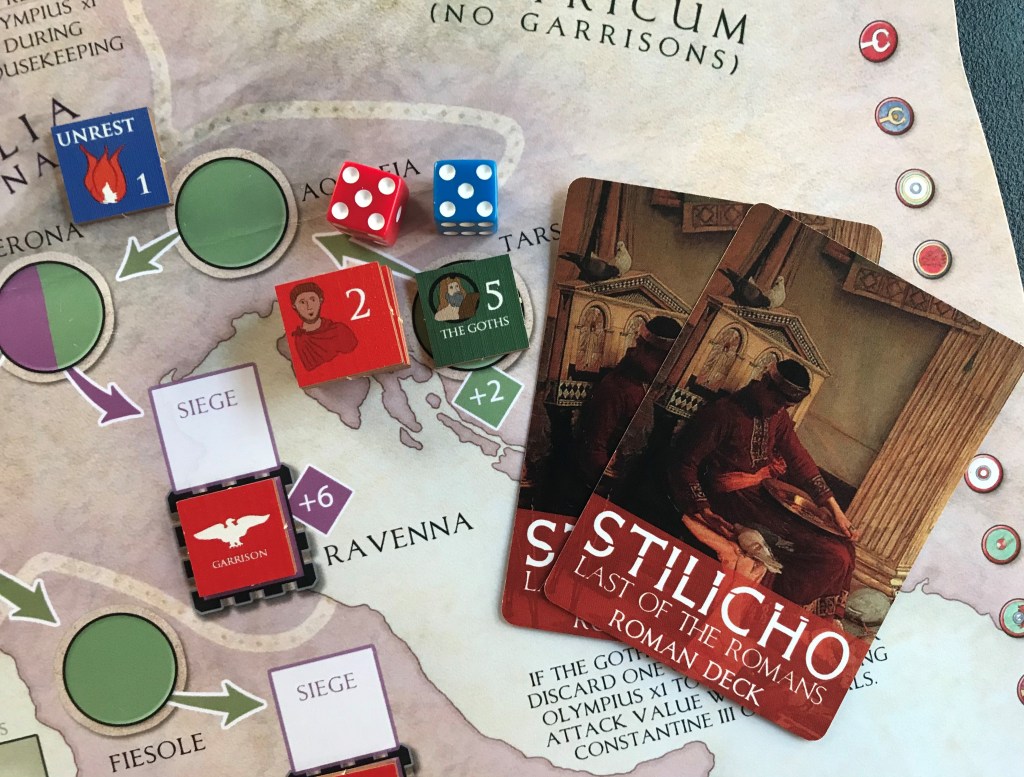
The Suppress Unrest of Revolt Action allows you to attempt to Suppress Unrest or Revolt Counters that have been placed in a Diocese on the Mapsheet from Enemy Cards. If these Unrest or Revolt Counters build up then the player is in for trouble as they will effect their attacks against Enemies in those locations and can lead to the game coming to an ignominious end as if there are 5 Revolt Counters on the map during the Check for Defeat Phase then the game ends immediately in a loss due to Anarchy.
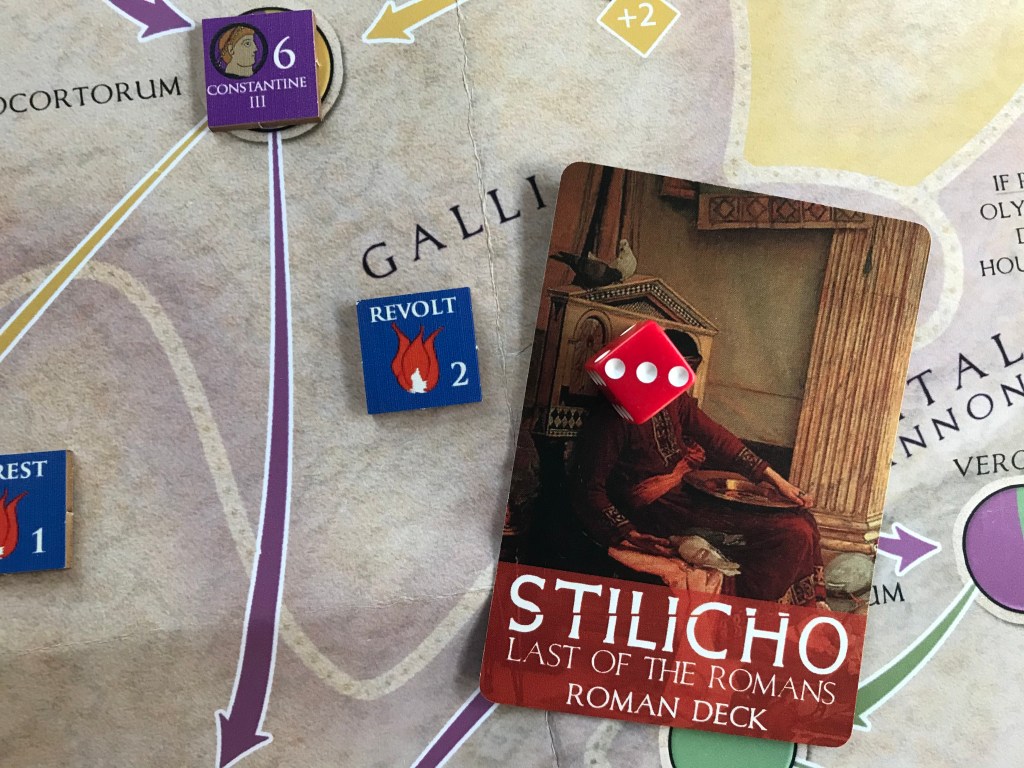
The process is straight forward and requires the player to roll a die and if the result is higher than the number on the Unrest Counter or 1 or Revolt Counter or 2 then the Action succeeds and the counter is removed from the Mapsheet. The player can also use a Reserve Action to boost the value of the die roll while ties are not rerolled as in Battles.
Another interesting way to use the Action is to remove a Garrison from the Mapsheet to the Recovery Box. When this is done, the player will also get to remove the Unrest/Revolt counter from the Garrison’s former Diocese. This can be a nice two for one Action as you can get that Garrison back to be able to Redeploy to an Army through the Transfer a Leader and/or Comitatenses.
End a Mutiny
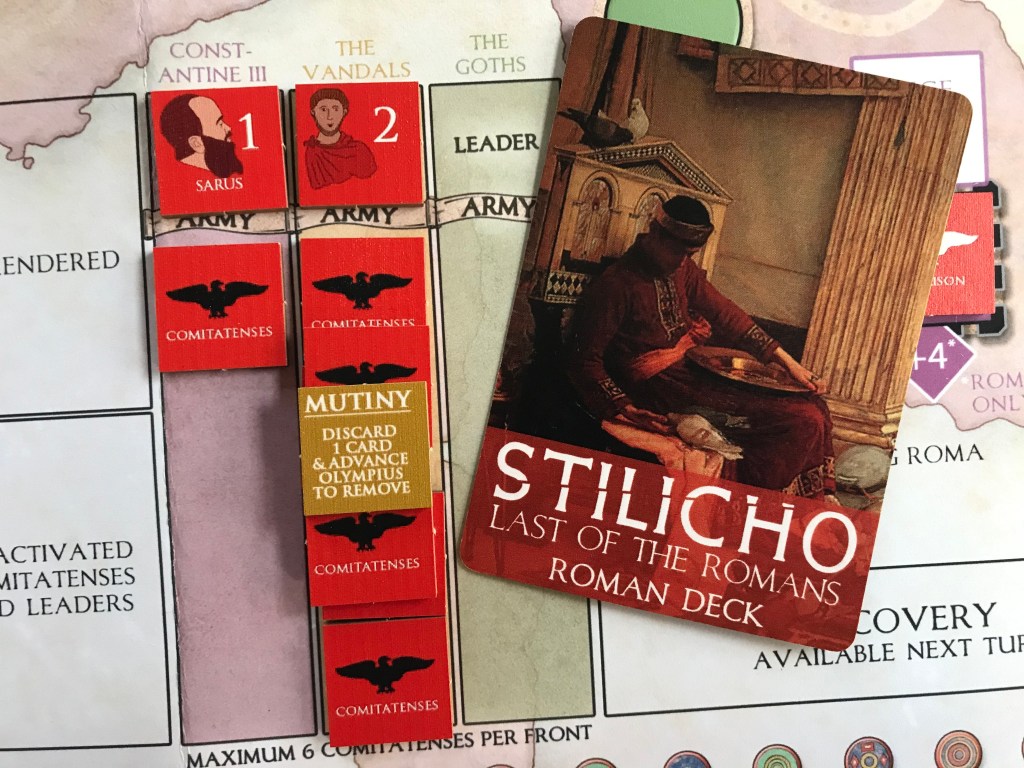
As the result of Enemy Event Cards, one of the Roman Armies might find themselves stuck in a Mutiny. Until this Mutiny is resolved and the Mutiny Marker is removed, that Army cannot Attack the Enemy. When the player discards a card to take this Action, the Mutiny Marker is removed and Olympius must also be advanced one space.
Prevent a Surge
The Prevent Surge Action is very important and can be taken during the Enemy Phase. You will obviously have to have carried over a card from the previous round but it allows the player to prevent an Enemy Activation Card from being added to a Surge Space. That Enemy Activation Card
is placed in the Enemy Discard Pile instead. Remember that Surges are simply brutal and will cause your Enemies to activate and move further down their Fronts toward their goals. These Surge Effects can also effect the Olympius Track and cause you to lose your head. You have to be prepared to try and stop Surges as often as possible but it takes planning as you have to carry a card over from your Roman Phase. This takes restraint and an understanding of the current situation and whether or not you can afford to absorb the Surge Effects.
Remember that the cards in your hand are your only hope of winning the game. They can be used in multiple ways so they are very flexible and you must weigh the use of each card before using it for either the Event or to discard to take an Action. As you play the game more and gain experience, you will begin to better understand how best to use your cards and you will become more effective at the game. The key to this game is proper management of your cards and being efficient with their use.
In Action Point 4, we will take a look at a few examples of Battles and how they are resolved, including utilizing your pacified enemies against your raging enemies, a very cool addition to this game that should be considered before using.
-Grant
