
The War of the Worlds is a solitaire board game that puts the player in command of the Human forces in an attempt to mount a defense against the invading Martian Tripods from the famous book by H. G. Wells. There are four versions of the game including England, France, Japan and United States East Coast that all use the same system but offers different challenges with their layout.
This solitaire game is a solid war themed Euro game with the game system commanding the Martian forces. The War of the Worlds is not necessarily a wargame but more a low complexity board game for gamers, science fiction fans, and generally anyone that likes their games to have difficult decision-making with a focus on tactics for the inevitable battles with the powerful waves of Tripods.
In this series of Action Points we will examine various parts of the well laid out Sequence of Play. In this post we will cover the Production Phase and take a look at the Display Board containing the various regions in England. In Action Point 2 we will look at the Battle Phase, take a look at the different units and cover the very important and tactical Battle Plans. In Action Point 3 we will examine the Devastation Phase and take a look into the different types of attacks the Tripods will unleash on the regions. In Action Point 4 we will dive into the Human Action Phase and Escape Phase. And finally in Action Point 5 we will examine the Martian Action Phase where the Tripods will look to move, reinforce or build the dreaded Flying Machine and the Assembly Phase that can spawn even more Tripods to destroy your hopes.
Display Board
The game board, which is referred to in the rules as the Display Board, is very thematic and really works to get the player into Victorian era England as they try to repel the invaders from Mars. The game board is also very well designed and provides nearly all of the information that is needed to play. I want to take you on a tour around the board showing you the various elements and how they are used to play the game. First, we will start at the top of the Display Board with the Tripod Staging Areas.

Tripod Staging Areas
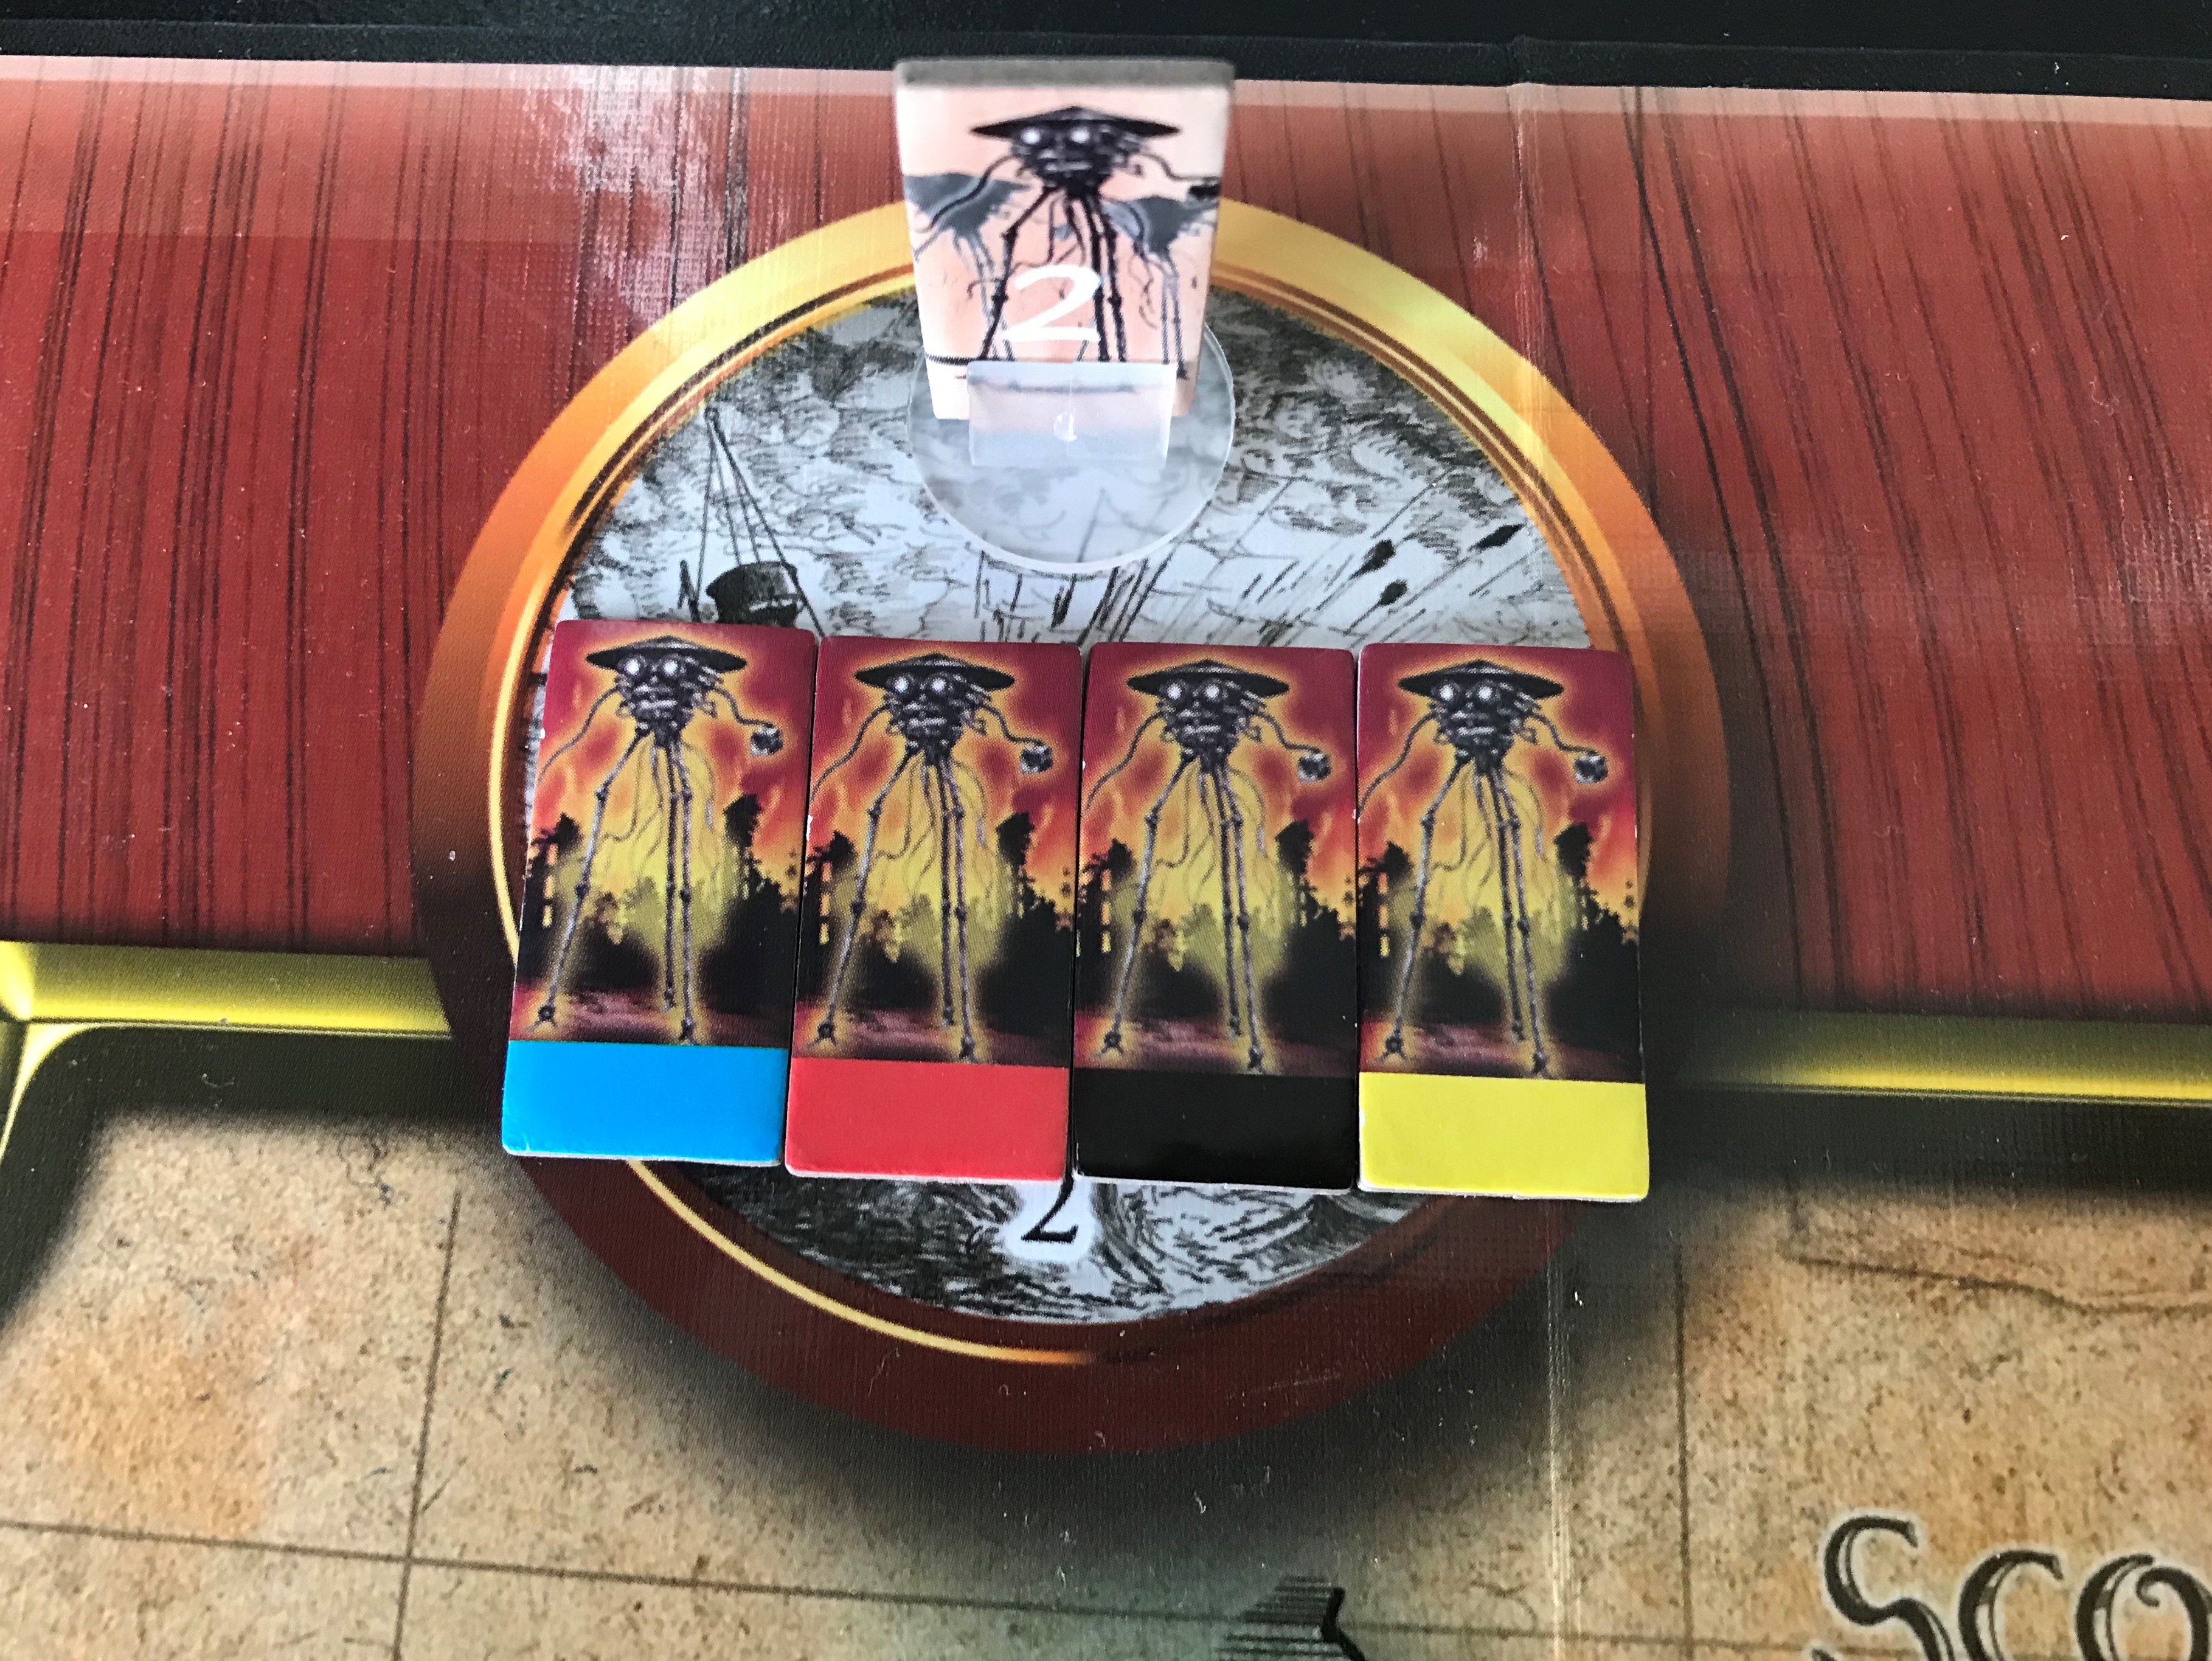
Along the top edge of the board are the Tripod Staging Areas. In these circles, the various Tripod Wave counters mounted in plastic standees await their arrival in the various regions on the Strategic Map where their Cylinders have landed. There are five of these circles as there are five different Waves that can appear during the game. If you look closely at the picture below you will notice the really great art that the circles contain which adds to the thematic element and immersion into the H. G. Wells story.

When each of the cylinders are placed on the Strategic Map, the player will draw out of an opaque cup four Tripods to place in the wave. The Tripods come in five different colors including Blue, Red, Black, Yellow and Green. These colors are important as the Battle Cards used during the Battle Phase will determine where the various colors of Tripods are initially placed and then a card draw each round of the battle will determine the type of actions that the Tripods will take.
The Flying Machine
Moving clockwise around the board we come to the The Flying Machine located just under the row of Tripod Staging Areas. This is where the Martian Flying Machine will be built throughout the game.

As you can see, the area consists of a box with four different spaces that represent a picture of a Flying Machine landing in the English countryside. During the Martian Action Phase, a die roll will determine the actions taken by the Waves of Tripods that are located on the Strategic Map. They can either Move, add a random Tripod to the Wave or place a random piece of The Flying Machine.
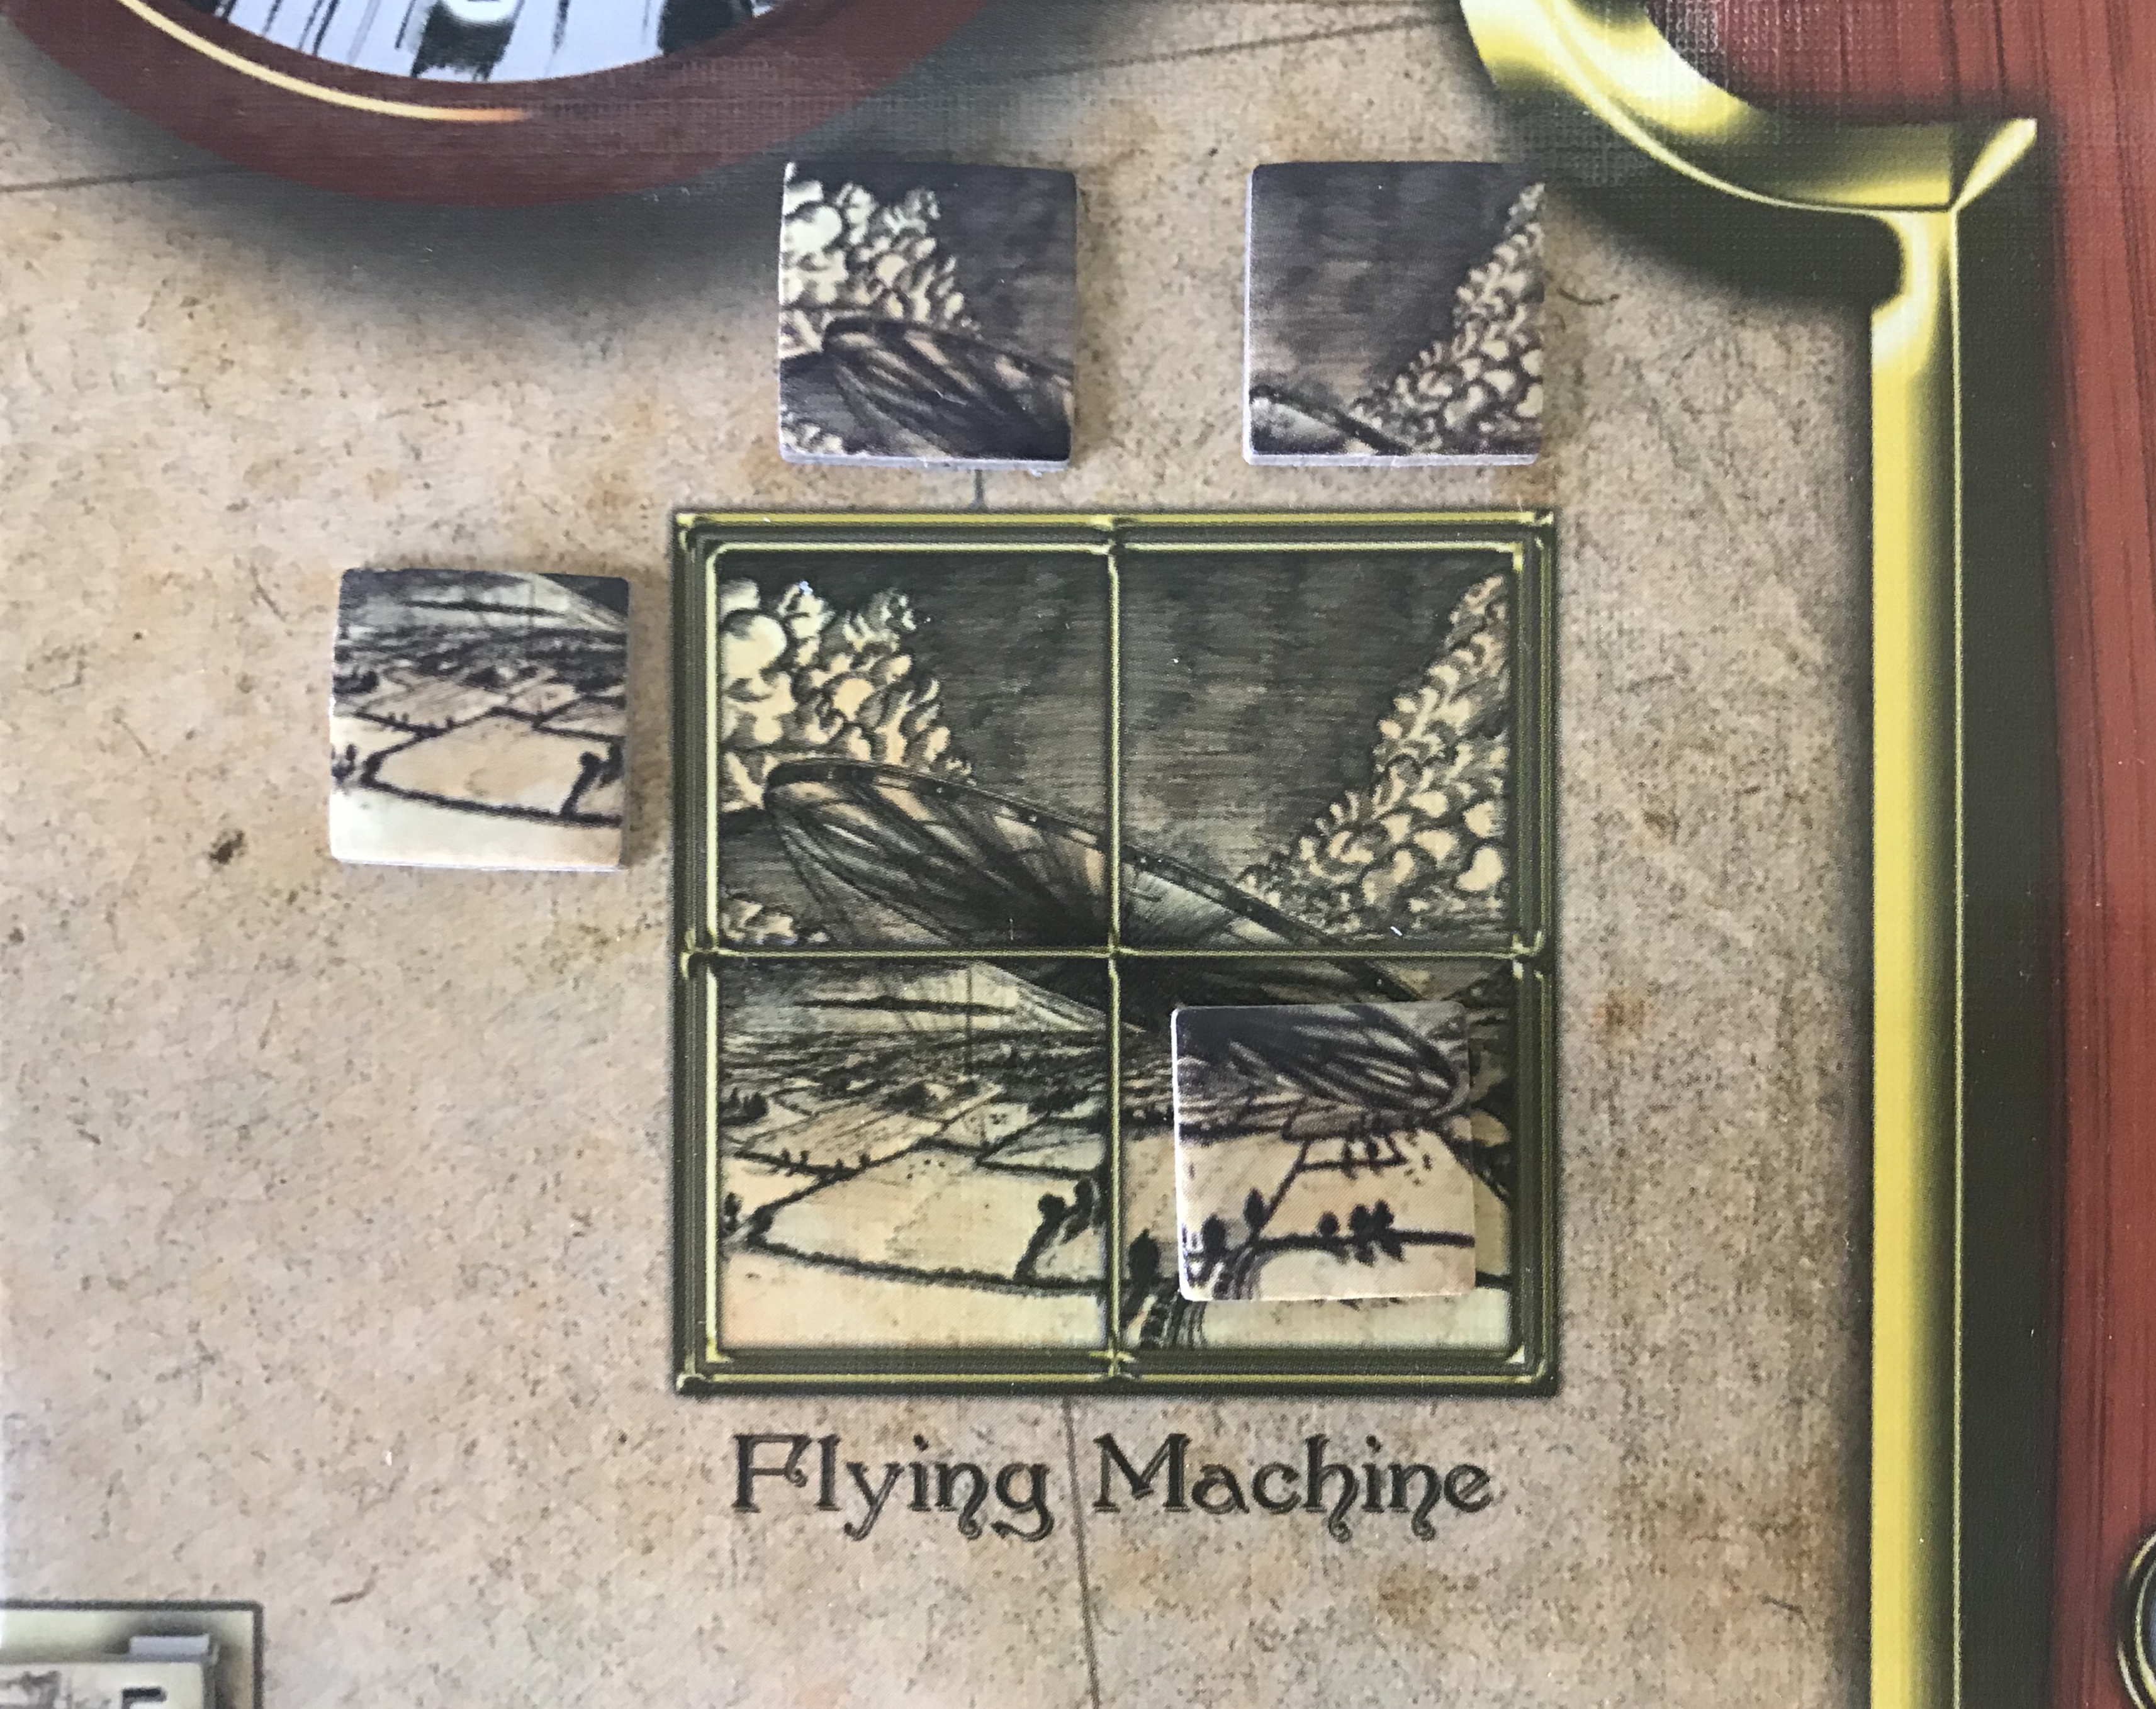
We will go into this in a bit more detail during our look at the Martian Action Phase but know now that I don’t like this part of the design. Yes it is a happening from the book, but it can end the game prematurely. After saying that, it only will really happen if things are going poorly for you but it is an automatic loss if all 4 pieces are placed.

Sequence of Play
Next up on our tour around the board is the Sequence of Play. I really like it when solitaire games put the information you need to play the game on the board itself. It simply makes it easier to play, eliminating the need to flip back and forth throughout the rule book or having to refer to multiple charts on player aide’s. The Sequence of Play is a mixture of actions for the player and those of the Martian AI. Its follows a logical flow as you start with the Human player Production Phase, followed by the Battle Phase if any Tripod Waves are located in the same zones as Human units. Then comes the Devastation Phase where the Tripods on the Strategic Map can lay waste to the Humans by using their Heat Rays, Black Smoke or causing Panic. After the Devastation Phase comes the Human Action Phase and then the Escape Phase which is where the Human player will score their Victory Points. The Martian Action Phase is where the Tripods will move, call for reinforcements or build a piece of The Flying Machine as mentioned before. The final part of the Sequence of Play is the Assembly Phase where Cylinders located on the Strategic Map will roll to determine if they spawn a Tripod Wave.
Progress Track
On the left side of the Display Board is the Progress Track. This track simply keeps track of various important pieces of information for both the Human player and the Martian AI. Those items tracked include the Human and Martian progress toward victory in the form of Victory Points that will be changed into either Germs (for the Human player) or Colonies for the Martian AI. There is a VP marker for both the Humans (H) and the Martian AI (M) that tracks VP’s from 1-10. Upon the VP marker reaching 10, the player simply will move the marker back to the 0 space and increase the Germ counter or the Colony counter by 1 space. The player will also track Production Points on the Progress Track.

Next, we will take a look at some of the important features and locations on the Strategic Map itself.
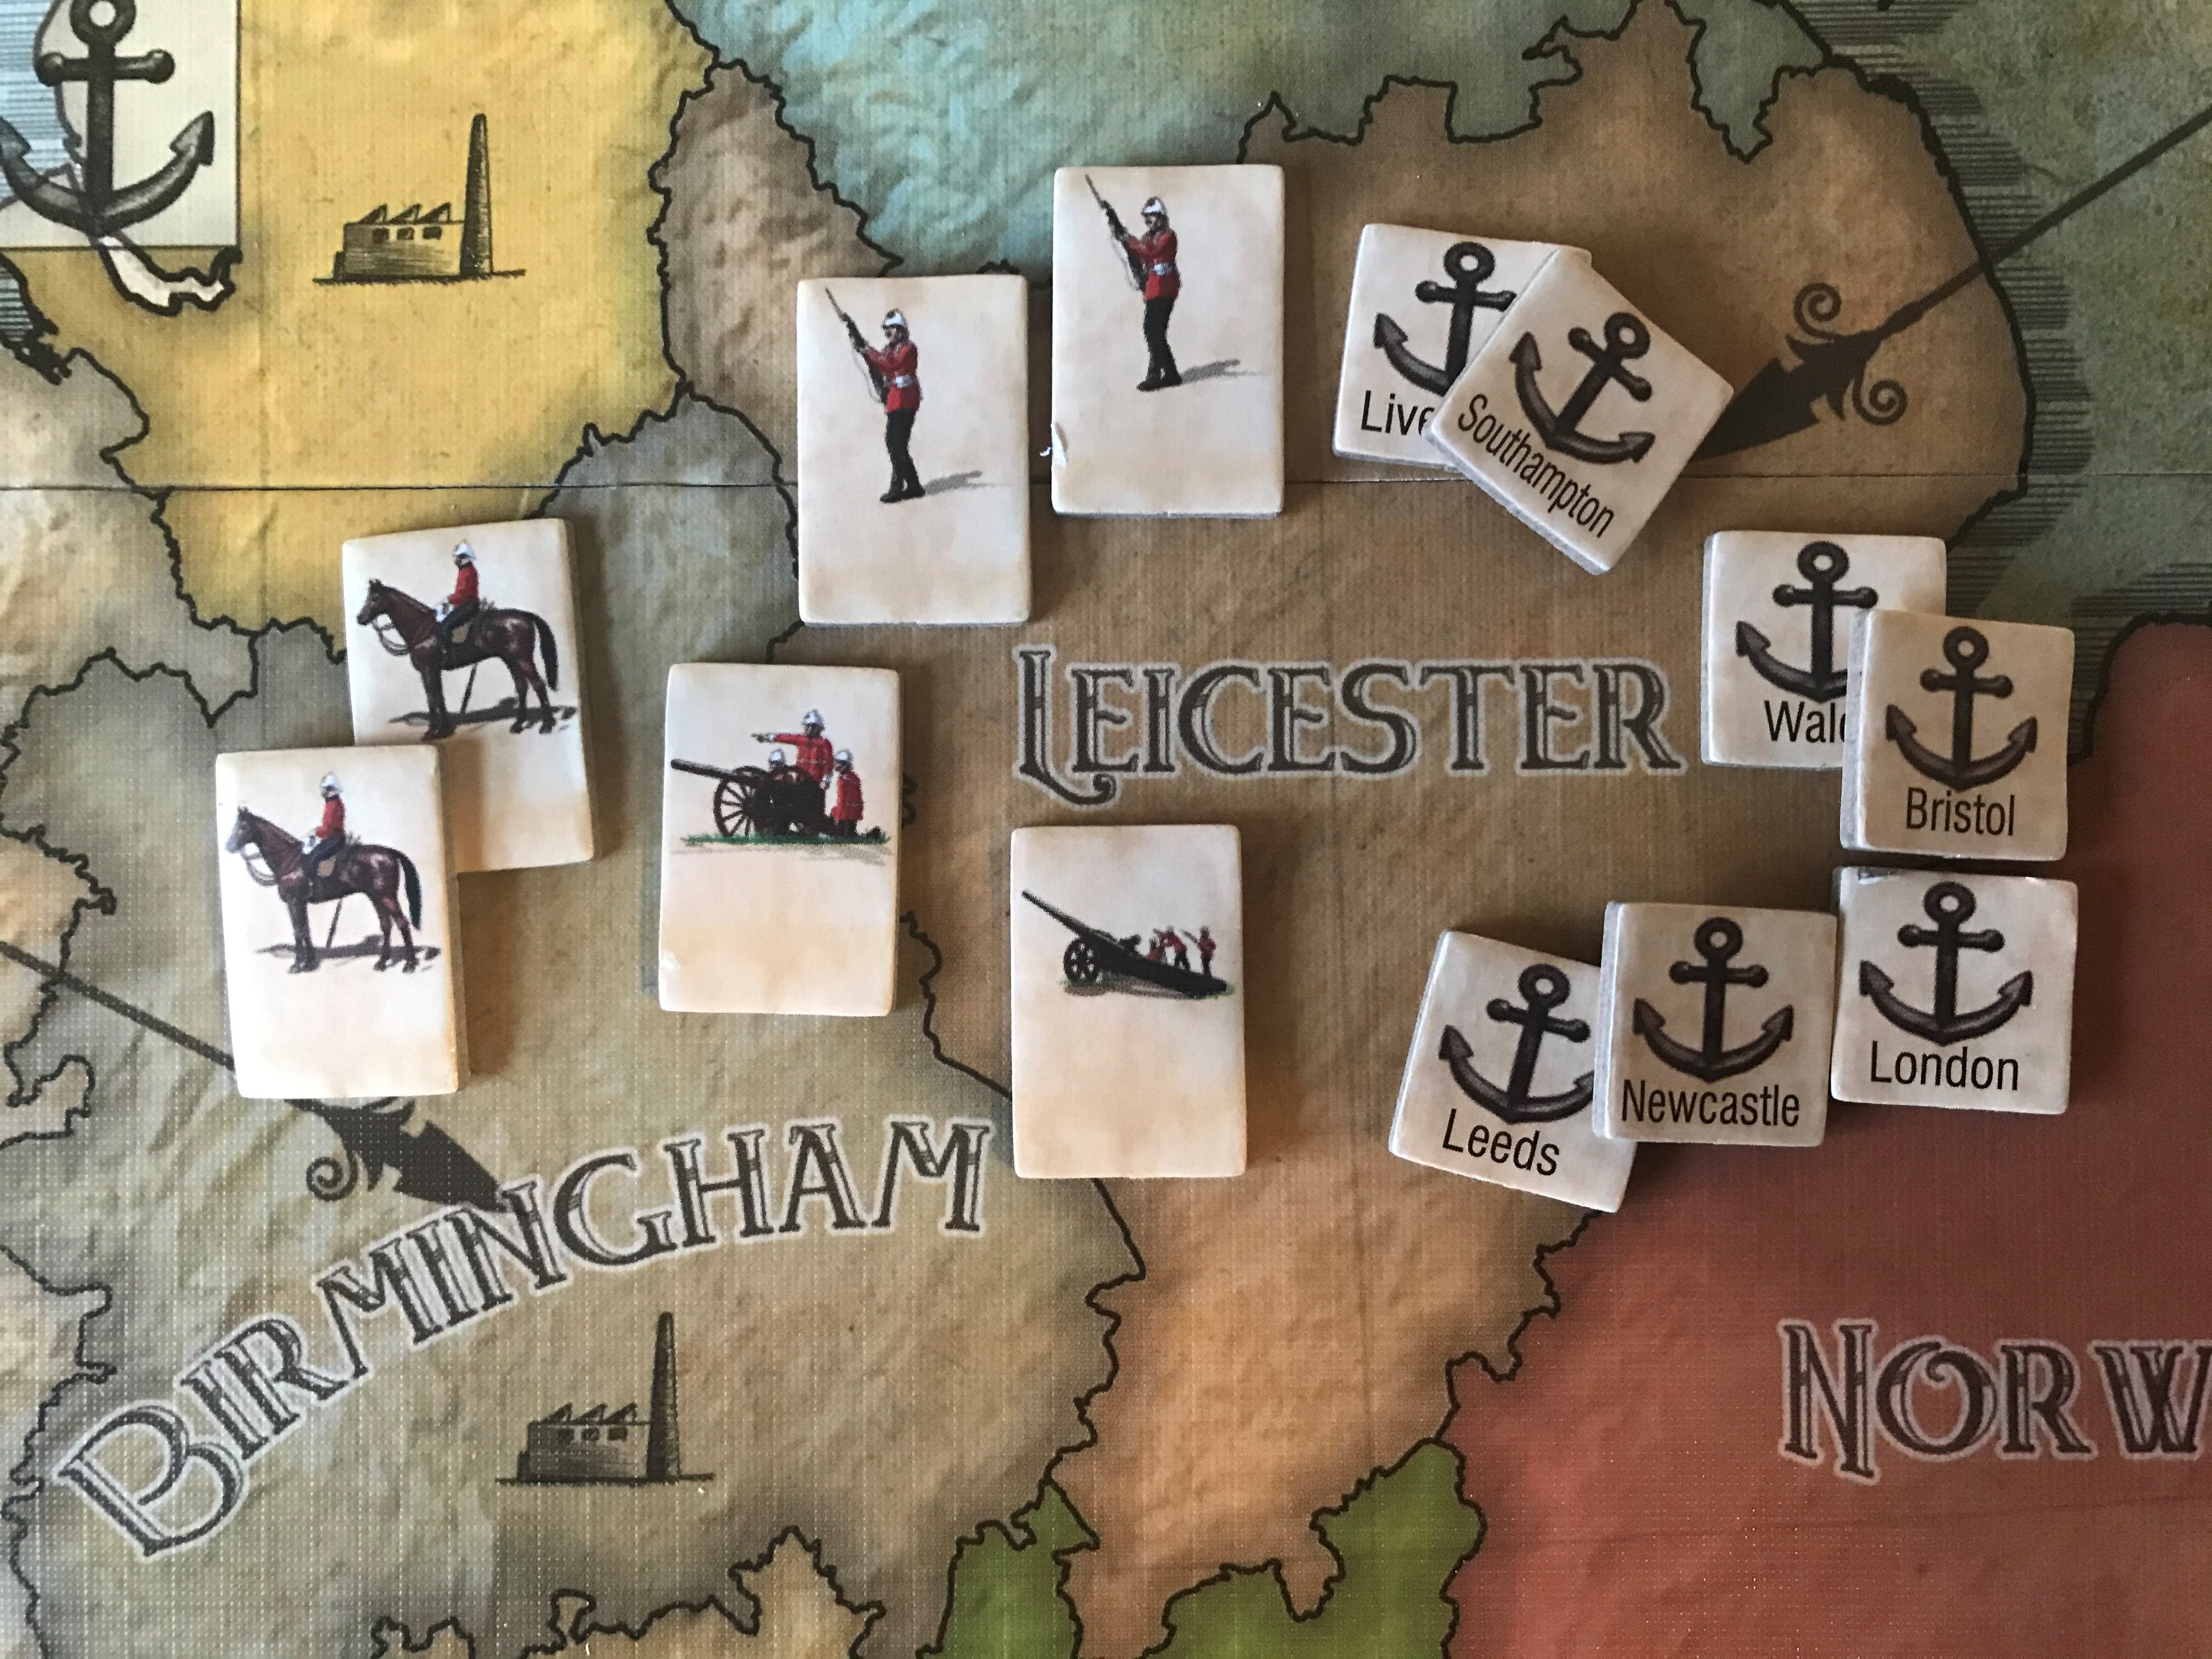
Harbor Sites
Harbors are the only way that Refugees who are fleeing the devastation of the Tripods can escape. But the Harbor is useless unless a random Harbor marker has been purchased and placed in that Harbor. If the Refugees cannot get to a Harbor Site located around the map they will be captured by the Tripods and will provide VP’s to the Martians.

Harbor Sites are located in all of the Zones on the Strategic Map except for Leicester and Birmingham.
Workforce
Located adjacent to each of the Zones on the Strategic Map are squares that show the current Workforce Value and Production Points. The Workforce Value is a way of representing the amount of Human resistance occurring in the Zone. In the picture below, you can see the initial Production Point value of each of these squares. Into the squares you will place a Production counter and align it such that it reflects the starting Production Points shown in the square. As the Zone takes damage from the attacks of the Tripods, you will rotate the counter to the right to the next lowest value. Once it reaches the last number shown on the Production counter, you will flip that counter over to the other side and continue tracking your Production. The Green, Yellow and Blue gears shown in the center of the Production counter are used to determine the number of Production Points that Zone will create for the player this turn during the Production Phase.

Factories and Hills
There are two types of symbols shown on the Strategic Map including Factories and Hills.
Factories simply show where you can place newly purchased units on the map. If the Zone where a Factory symbol is located currently contains a Tripod Wave, you can still place new units there. If the Zone is Destroyed or has a Red Weed counter, you cannot place units in that Zone.

Hills are printed in various Zones on the Strategic Map to show where the Human player will have improved defenses for their units during a battle that occurs in that Zone.
Now that you have been introduced to the board and the various symbols and areas, we are now ready to take a look at what happens during the Production Phase.
Production Phase
During the Production Phase, the Human player will receive Production Points that may be spent to purchase units, Harbors, Battle Plans and move units from one Zone to an adjacent zone. In order to determine your Production Points for the turn the player will count up the number of gears shown on the Production counters in each Zone. These new Production Points will be added to any saved Production Points already shown on the Progress Track. Usually, during the first round the player will collect between 19-20 Production Points. The units and items that can be purchased are shown as follows with their cost:
Infantry – 10 Production Points
Field Gun – 12 Production Points
Siege Gun – 22 Production Points
Random Harbor Marker – 2 Production Points to Draw a Random Harbor Marker
Movement – 2 Production Points
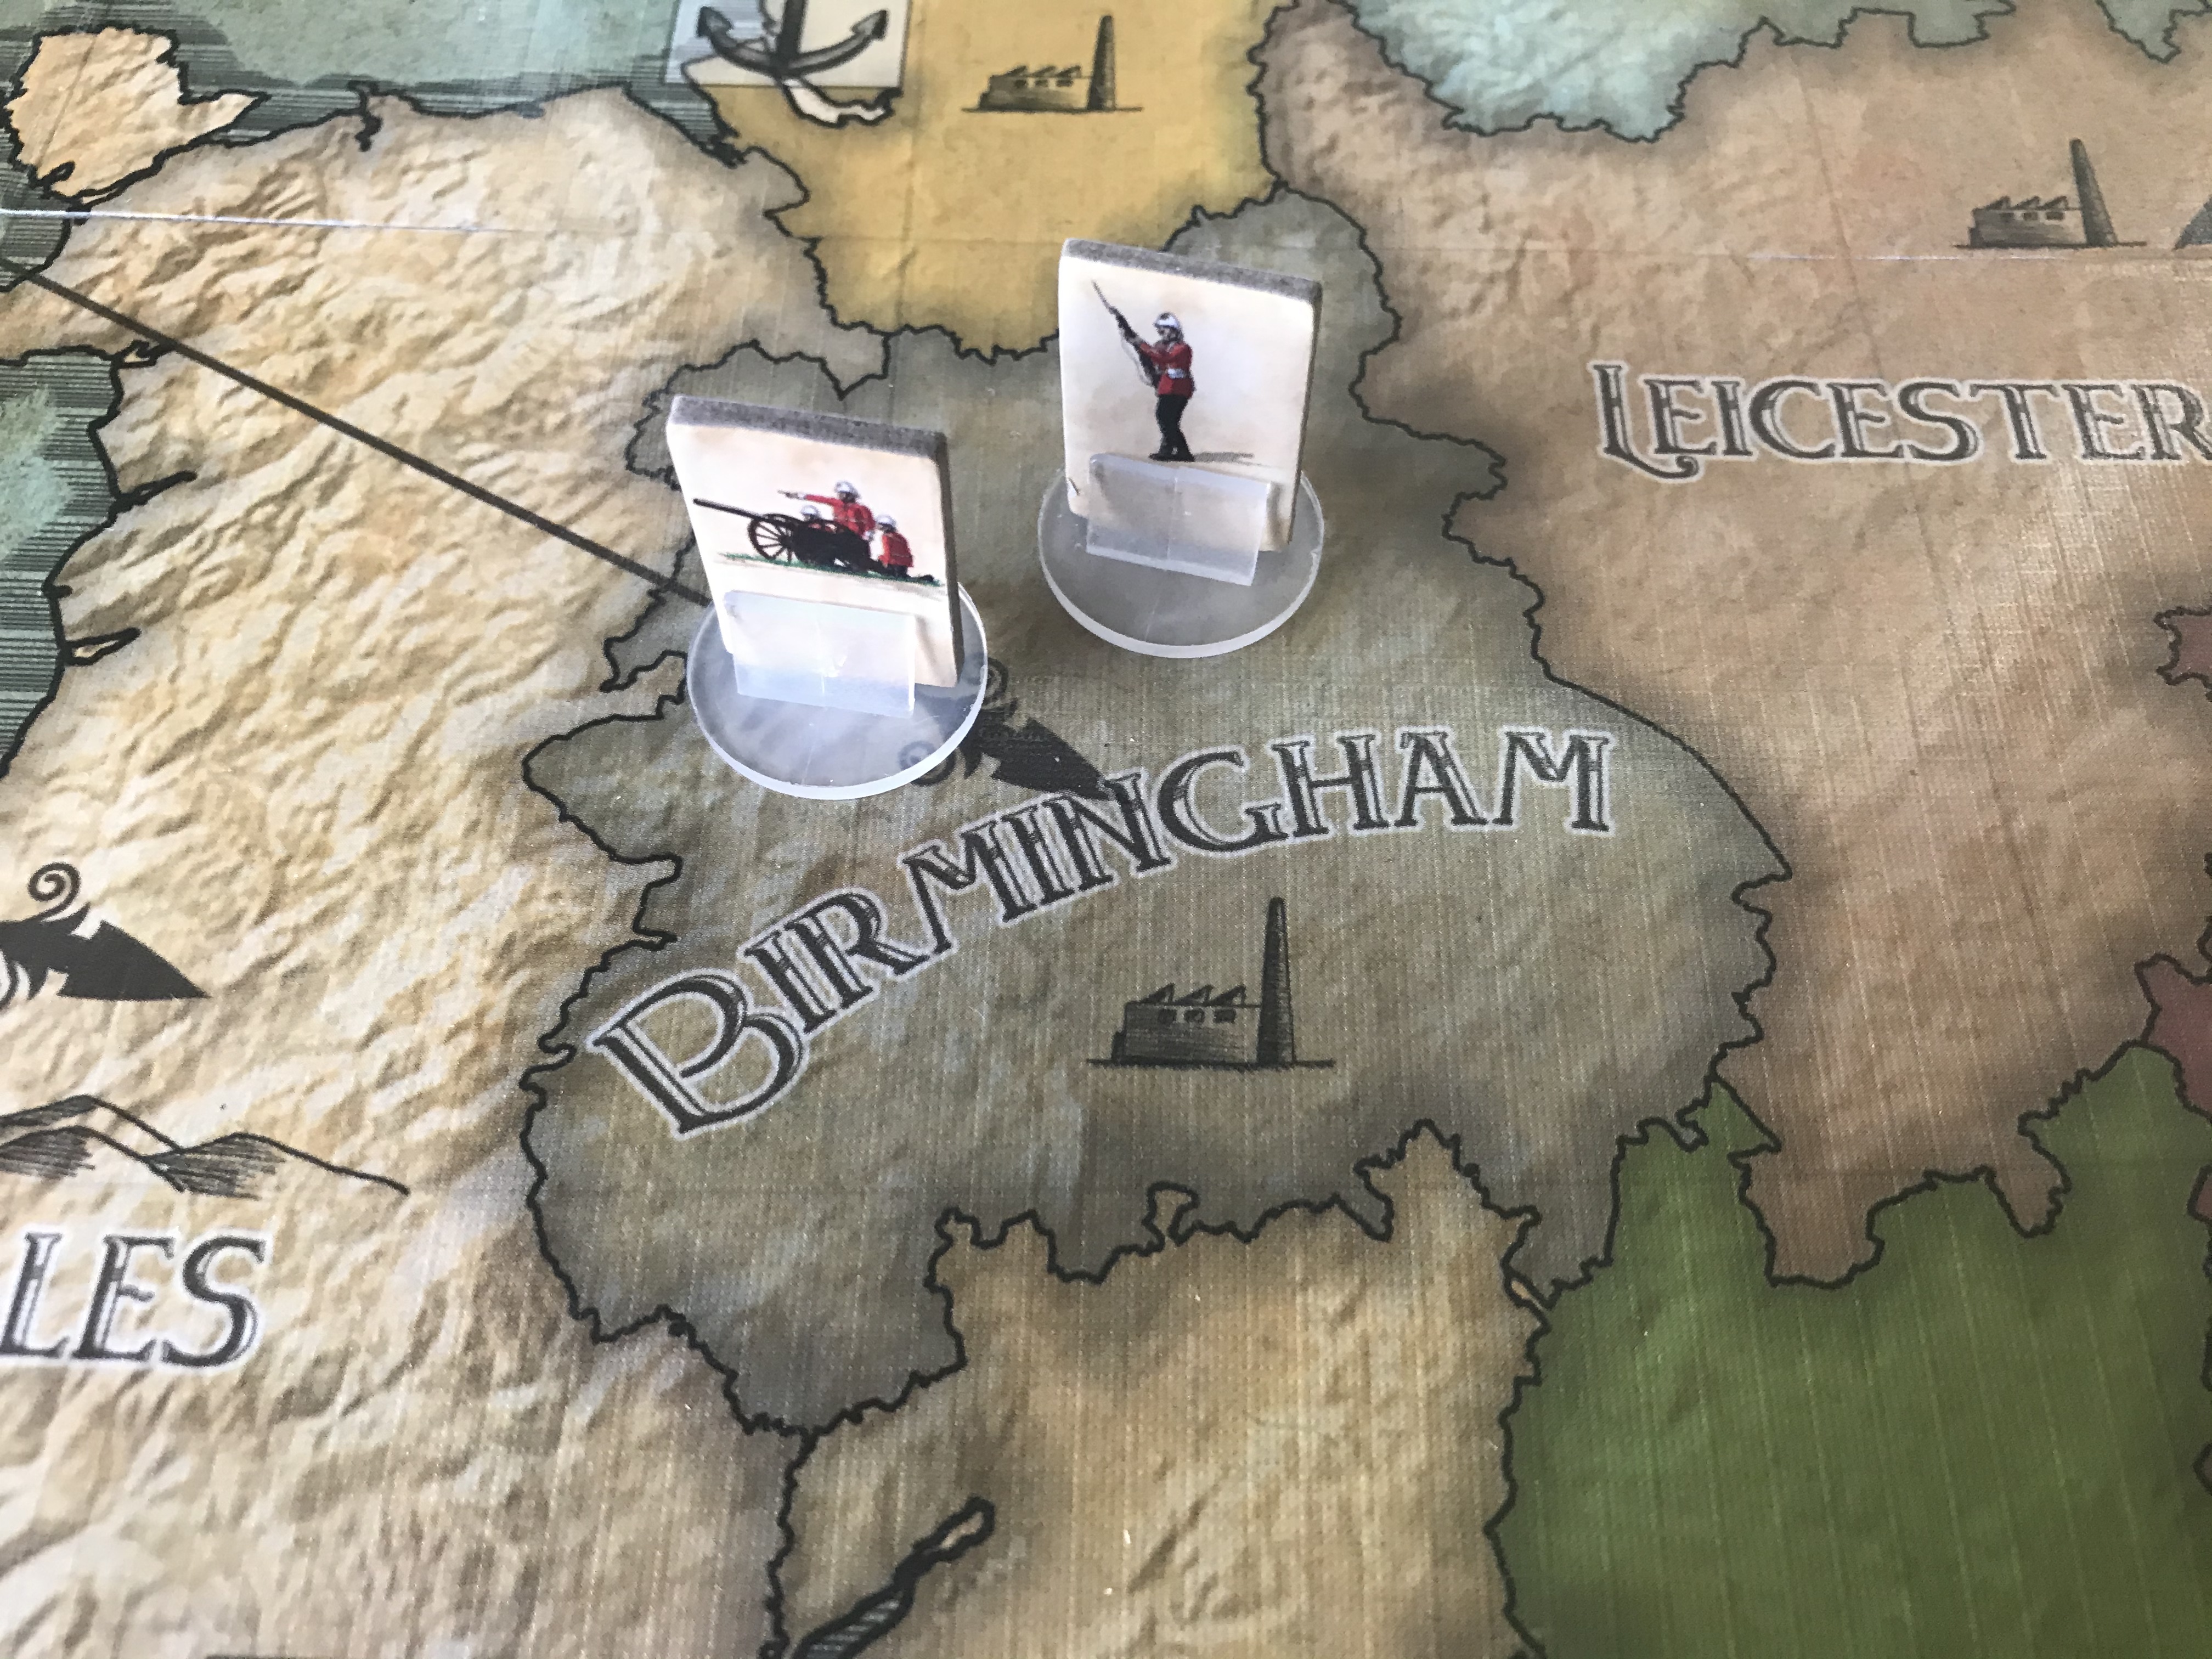
That is a look at the Production Phase which is where the Human player will collect their Production Points and purchase those units that will best aid them in destroying the oncoming Waves of Tripods. Each of these units has their uses, and to ignore any one of them will lead to certain defeat. You must balance the power of Field Guns and Siege Guns with the tactical advantage of Cavalry and the defensive capability of Infantry. A well laid defensive line of Powder Kegs and Cavalry set up to direct the Tripods into a trap will pay great dividends as you may whittle down the Waves to a more manageable and beatable level.

As the game wears on, Harbors will become more and more important as you have to be able to escape your Refugees to deny the Martian AI VP’s and to increase your VP’s as well. But be aware that you will randomly draw a Harbor when purchased, and you can never guarantee that it will be the one that is nearby to your Refugees so you may have to purchase them early to get them on the board before you really need them.
The Production Phase is important and as you play the game you will learn that saving your Workforce is important as you can only mount a good defense if you have money to buy the best units.
In Action Point 2 we will look at the Battle Phase, which is definitely my favorite part of the design, and also take a look at the different units and cover the very important and tactical Battle Plans.
-Grant
