
I have never played a historical wargame on the First Barbary War, which if you didn’t know was one of the first major wars the young United States of America participated in that was situated far outside their sphere of influence in North and South America. Shortly after the end of the American Revolutionary War, commercial vessels of the United States were being attacked and raided by the pirates of the Barbary coast in the Mediterranean Sea. In 1801, newly inaugurated President Thomas Jefferson was eager to put an end to this threat and sent a “squadron of observation” to the Mediterranean to deal with the threat. The Shores of Tripoli covers this conflict and does so using a card driven game mechanic that works really well in this instance. The game is a little deceiving, as at first it appears to be pretty introductory with simple rules and mechanics, but the depth for the game lies in the strategy for each side and the fact that their victory conditions are asymmetric.
In this series of Action Points we will cover the Game Map and the different locations including harbors, naval patrol zones and the open sea, discuss the differences between each sides units and how they are used in the game, cover the cards that drive the action and provide interesting events, talk about the general sequence of play and the victory conditions and cover examples of the different actions players can take with the cards and show a few examples of things like Naval Movement, Naval Combat, Naval Bombardment and Ground Combat.
Game Map
The best component in the game is the Game Map. I know that the wooden Frigates are also pretty great but the map really sets the tone for the whole game and draws you in with its vivid colors and interesting layout. The Game Map is an 11″ x 34″ (yes you read that right) mounted map that stretches out and shows the Mediterranean coast of North Africa from Gibraltar and the Atlantic Ocean on the west to Egypt in the east. The North African coast shows five different country’s borders with their associated ports on the Mediterranean including Morocco, Algeria, Tunisia, Tripolitania and Egypt.

The Game Map consists of several different types of spaces that are used to play the game. These include nine different harbors, five naval
patrol zones which are connected to those harbors, and the open sea.
As you look at the map, you will notice that the nine harbors are all color-coded circles on the map and identify who they are aligned with and to which side the harbors are friendly. The blue harbors, which include Gibraltar, Malta, and Alexandria are friendly to the United States of America. The red harbors, which include Tripoli, Benghazi, and Derne, are
controlled by Tripolitania. The orange harbors, which consist of Algiers, Tangier, and Tunis, are potential allies of Tripolitania and in essence are activated when certain cards are played. These harbors are home to various corsairs or pirates that are not the main focus of the Tripoli player but can be used to great effect to wreak havoc with the United States Navy. In addition to the harbors being home to Frigates and other boats, four of the harbors, including Tripoli, Benghazi, Derne, and Alexandria, also act as cities and can house cubes that represent infantry units.

The other important part of the sea that is connected to each harbor is the patrol zones. These are represented with lightly shaded partial circles located adjacent to five of the nine harbors including Tripoli, Algiers, Tangier, Tunis, and Gibraltar. American and Swedish frigates can be placed in these shaded areas to patrol the zones against corsairs from leaving their corresponding harbor to conduct raids. We will cover the mechanics of this process in a later Action Point, but the proper use of patrol zones is a key to victory for the United States player and if done properly and consistently can really weaken the pirate fleets before they can cause damage.

The open sea is where corsairs engage in their crimes of piracy. Corsairs return to their home ports after pirating in the open sea and no corsairs will ever end their turn in the open sea.
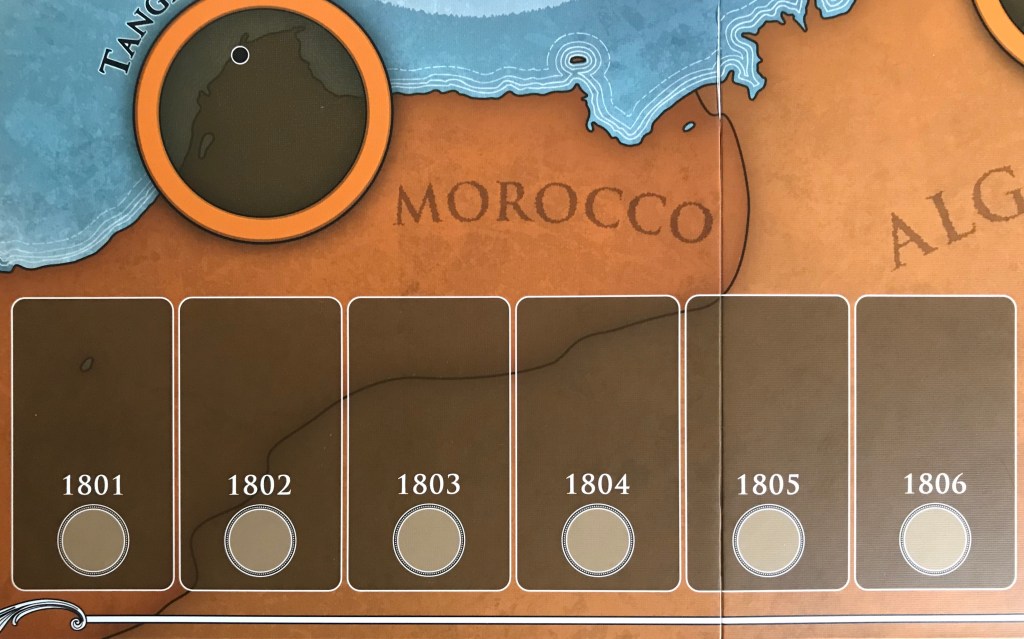
The Game Map also includes two tracks that are used to keep account of the progress of the game including the Year Turn Track and a Seasonal Phase Track. The Year Turn Track starts in 1801, which concedes with Jefferson’s deployment of the “squadron of observation” and ends in 1806 with the end of the game. This means that there are 6 Turns in the game and each year is made up of 4 seasons and allow the players to play four cards, one in each season. After each card is played, the Seasonal Phase Track Marker will move to the right from one season to the next. The four seasons represented are Spring, Summer, Fall and Winter. Occasionally, due to the play of a card, a Frigate can be placed onto the Year Turn Track and means that when the Year reaches that space, the player will receive the Frigate to be added to their fleet.

There are also supply boxes located in the upper right hand corner of the board where unused ships and infantry units may be stored awaiting their deployment to the map.

The Game Map is not necessarily a major part of the game, but plays more of a subtle role. There are no real tactical elements about the way the Game Map is set up and the spaces simply act as staging locations to contain the various forces that each side has to wage war with. The patrol zones are very key though and can make or break whether the United States keeps the pirates under control or piracy succeeds at taking all of the American money. But these are elements that we will cover in later entries in the series.
One final aspect that I wish to cover in this post in regards to the Game Map is the Ground Combat in relation to the cities that the United States player must capture in order to set themselves up for a possible victory. From Alexandria, the United States player has to get infantry units there through card play and establish a base of operations from which to strike out toward the capital of Tripoli. After they have landed troops there, they must then at least make progress in moving toward Tripoli and ultimately must either control the city of Derne with infantry units or must win the game by defeating the Tripolitan Navy in Naval Combat and then follow that up with sieging the city and defeating the Tripolitan Army in Ground Combat. This discussion is not meant to focus on the mechanics of how this will be accomplished but only that the United States player must at least attempt to push the ground invasion aspect to at least take the city of Derne and then hope that they meet the other conditions to play the Treaty of Peace and Amity card which will end the game immediately in a United States victory.
This Ground Combat aspect will require attention and focus and frankly requires you to use several of your card plays to at least dabble in the Ground Combat aspect. There are only two cities that must be taken to allow for an assault on Tripoli and those are Derne followed by Benghazi. The other interesting element of this part of the game is how the player must use their limited card plays efficiently in order to set up all of the victory conditions. This effort can be helped along considerably by also using some of your Naval Movement and attacks to carry out Naval Bombardment of the Tripolitan ground forces in Derne and Benghazi to soften them up for your ground forces to have an easier time about this effort. It is a balance of both cards, commitment and understanding your goals.

In Action Point 2, we will discuss the differences between each sides units and how they are used in the game.
-Grant
