
In our first Action Point for Bloody Mohawk, we looked at Indian units and a basic example of combat including Offensive and Defensive Fire and Advance After Combat. In this Action Point, we will look at Artillery units and Leaders and also take a look at a few of the scenarios.
Artillery Units
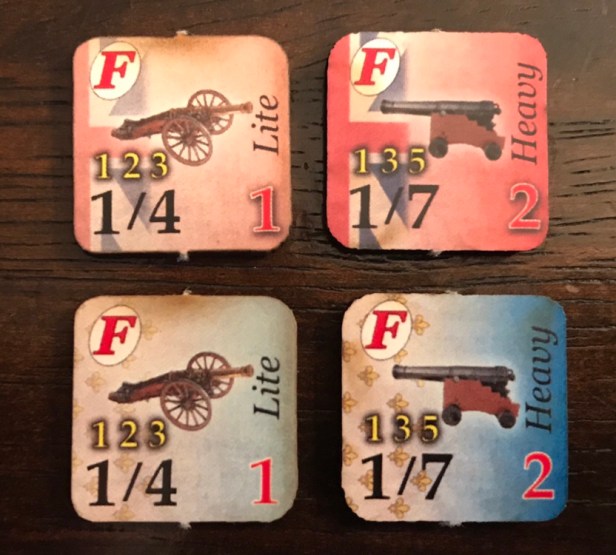
Big guns! What’s an 18th century game without artillery? There are two types of artillery pieces in Bloody Mohawk including Lite and Heavy Cannon. Artillery can fire at units at multiple ranges, provided that the firing artillery unit has a line of sight to their target.
Above the Combat Factor is printed the various range increments for the unit including short, medium and long range. Lite Cannon have ranges of 1, 2 and 3 hexes while Heavy Cannon ranges are 1, 3, and 5 hexes.
At short range (the first printed number), there is a -1 bonus to the die roll (remember you are trying to roll under your unit’s Combat Factor), while at long range the roll is at a +1 penalty. There is no modifier for medium range. You will also notice the red “F” in the upper left corner of the counter. This simply means that artillery cannot enter Swamp and Forest hexes but Lite Cannon may enter Woods hexes.
Heavy Cannon really have far reach and can be devastating as they simply pick off units from long distance. With a 7 Combat Factor, they can be very effective, even at long range. Lite Cannon are less potent with a CF of 4 and limited range but still effective to wear down your attacker as they approach within their fire range.

Leaders
Leaders are unique units and are typically stacked with one other unit and move the same as that unit’s movement factor. The Leader simply subtracts -1 from the die roll of the unit they are stacked with for both Fire attacks and Retreat rolls.
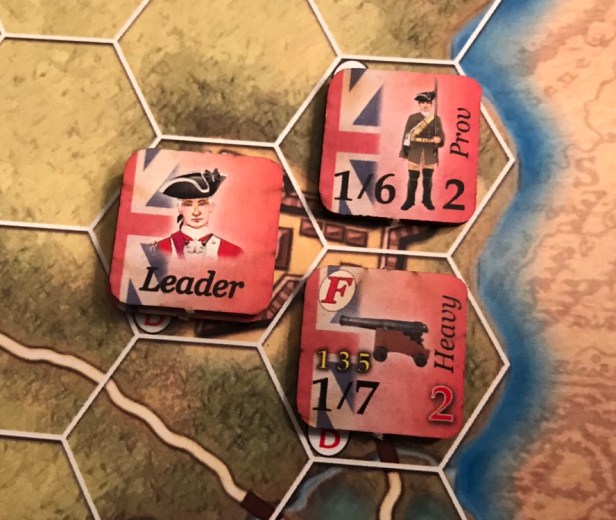
Leaders are fragile though and if are ever stacked with a unit that takes a step loss they must make a Leader survival check by rolling 1d10. On a result of 1-5, the Leader is killed and removed from the game. If the Leader is ever left alone in a hex, such as after a unit is killed and the Leader survives, and is adjacent to an enemy unit it is considered to be captured. If not adjacent, the Leader has a movement factor of 3 and can move toward one of their own units to stack with them. I liked this element as it felt thematic. Leaders were typically in the thick of combat and became casualties often.
Scenarios
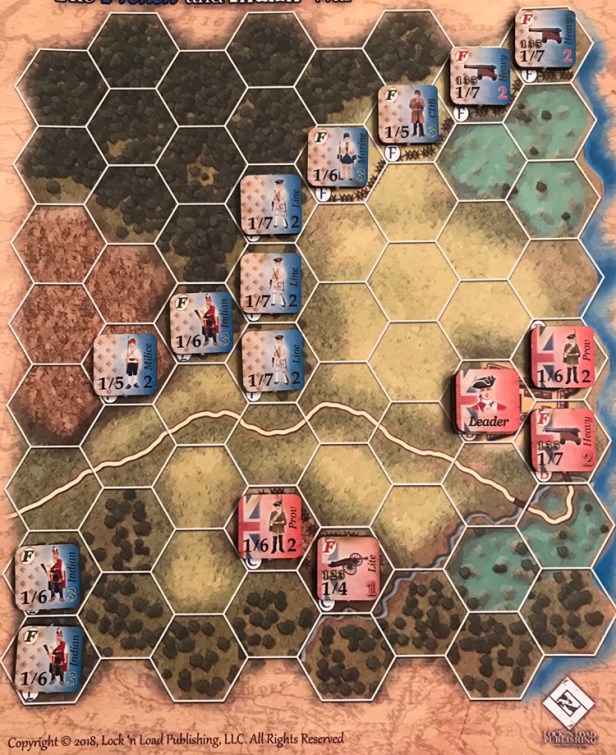
One of the great things about Bloody Mohawk is that there are twelve different scenarios. These scenarios allow players to reenact many historical happenings from the time period.
Some of the scenarios included are as follows (all 12 are not listed):
- Jumonville Glen – May 28, 1754
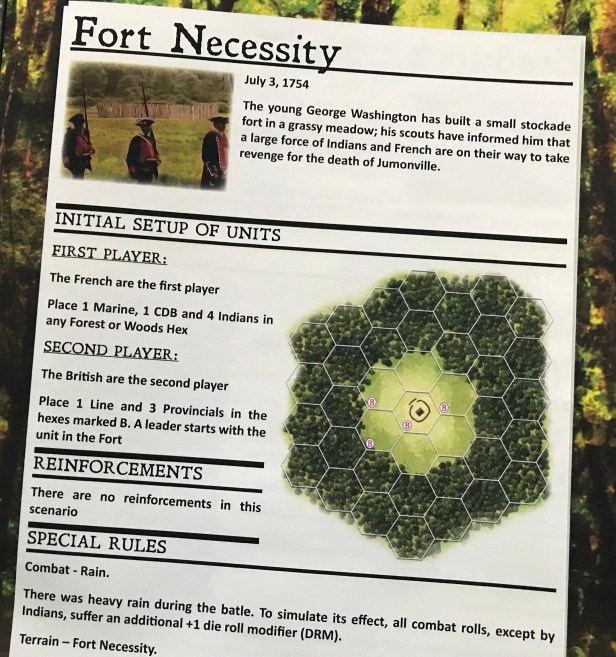
- Fort Necessity – July 3, 1754
- Braddock’s Defeat – July 9, 1755
- Mary Jemison Raid
- Battle of Lake George – September 9, 1755
- Battle of Sideling Hill – April 1, 1756
- Battle of Fort William Henry – August 8, 1757
- Battle of Bushy Run – August 5-6, 1763
The cool part of the scenarios is that they are designed to play in under 30 minutes, with a few of the larger scenarios playing in under 45 minutes. Most of the engagements have 3-5 counters per side and are very simple to play. The scenarios do add a lot of special rules and sometimes utilize Special counters to represent historical figures or Leaders who have to exit the map (like Jumonville in the 1st scenario).

This game is not an overly complex and deep game but is meant to play quickly with only a few rules. That being said, I like the game and will definitely keep it in my collection.
For a look at the game, check out our video review.
-Grant

There are 12 scenarios
LikeLike
Yes I know. I mention there are 12 at the start of the paragraph but only listed 8. Thanks.
LikeLike
Confused on the “Lite Cannon may enter Woods hexes.” are those Chits not pictured or do you ignore red F for that unit?
This game, I’d like to get.
How clear are the rules? Is the above just an anomaly of the rule set?
LikeLike
Woods terrain is different than Forest terrain. The red “F” is specific to Forest terrain.
LikeLike
The rules are fairly clear and simple to boot.
LikeLike