
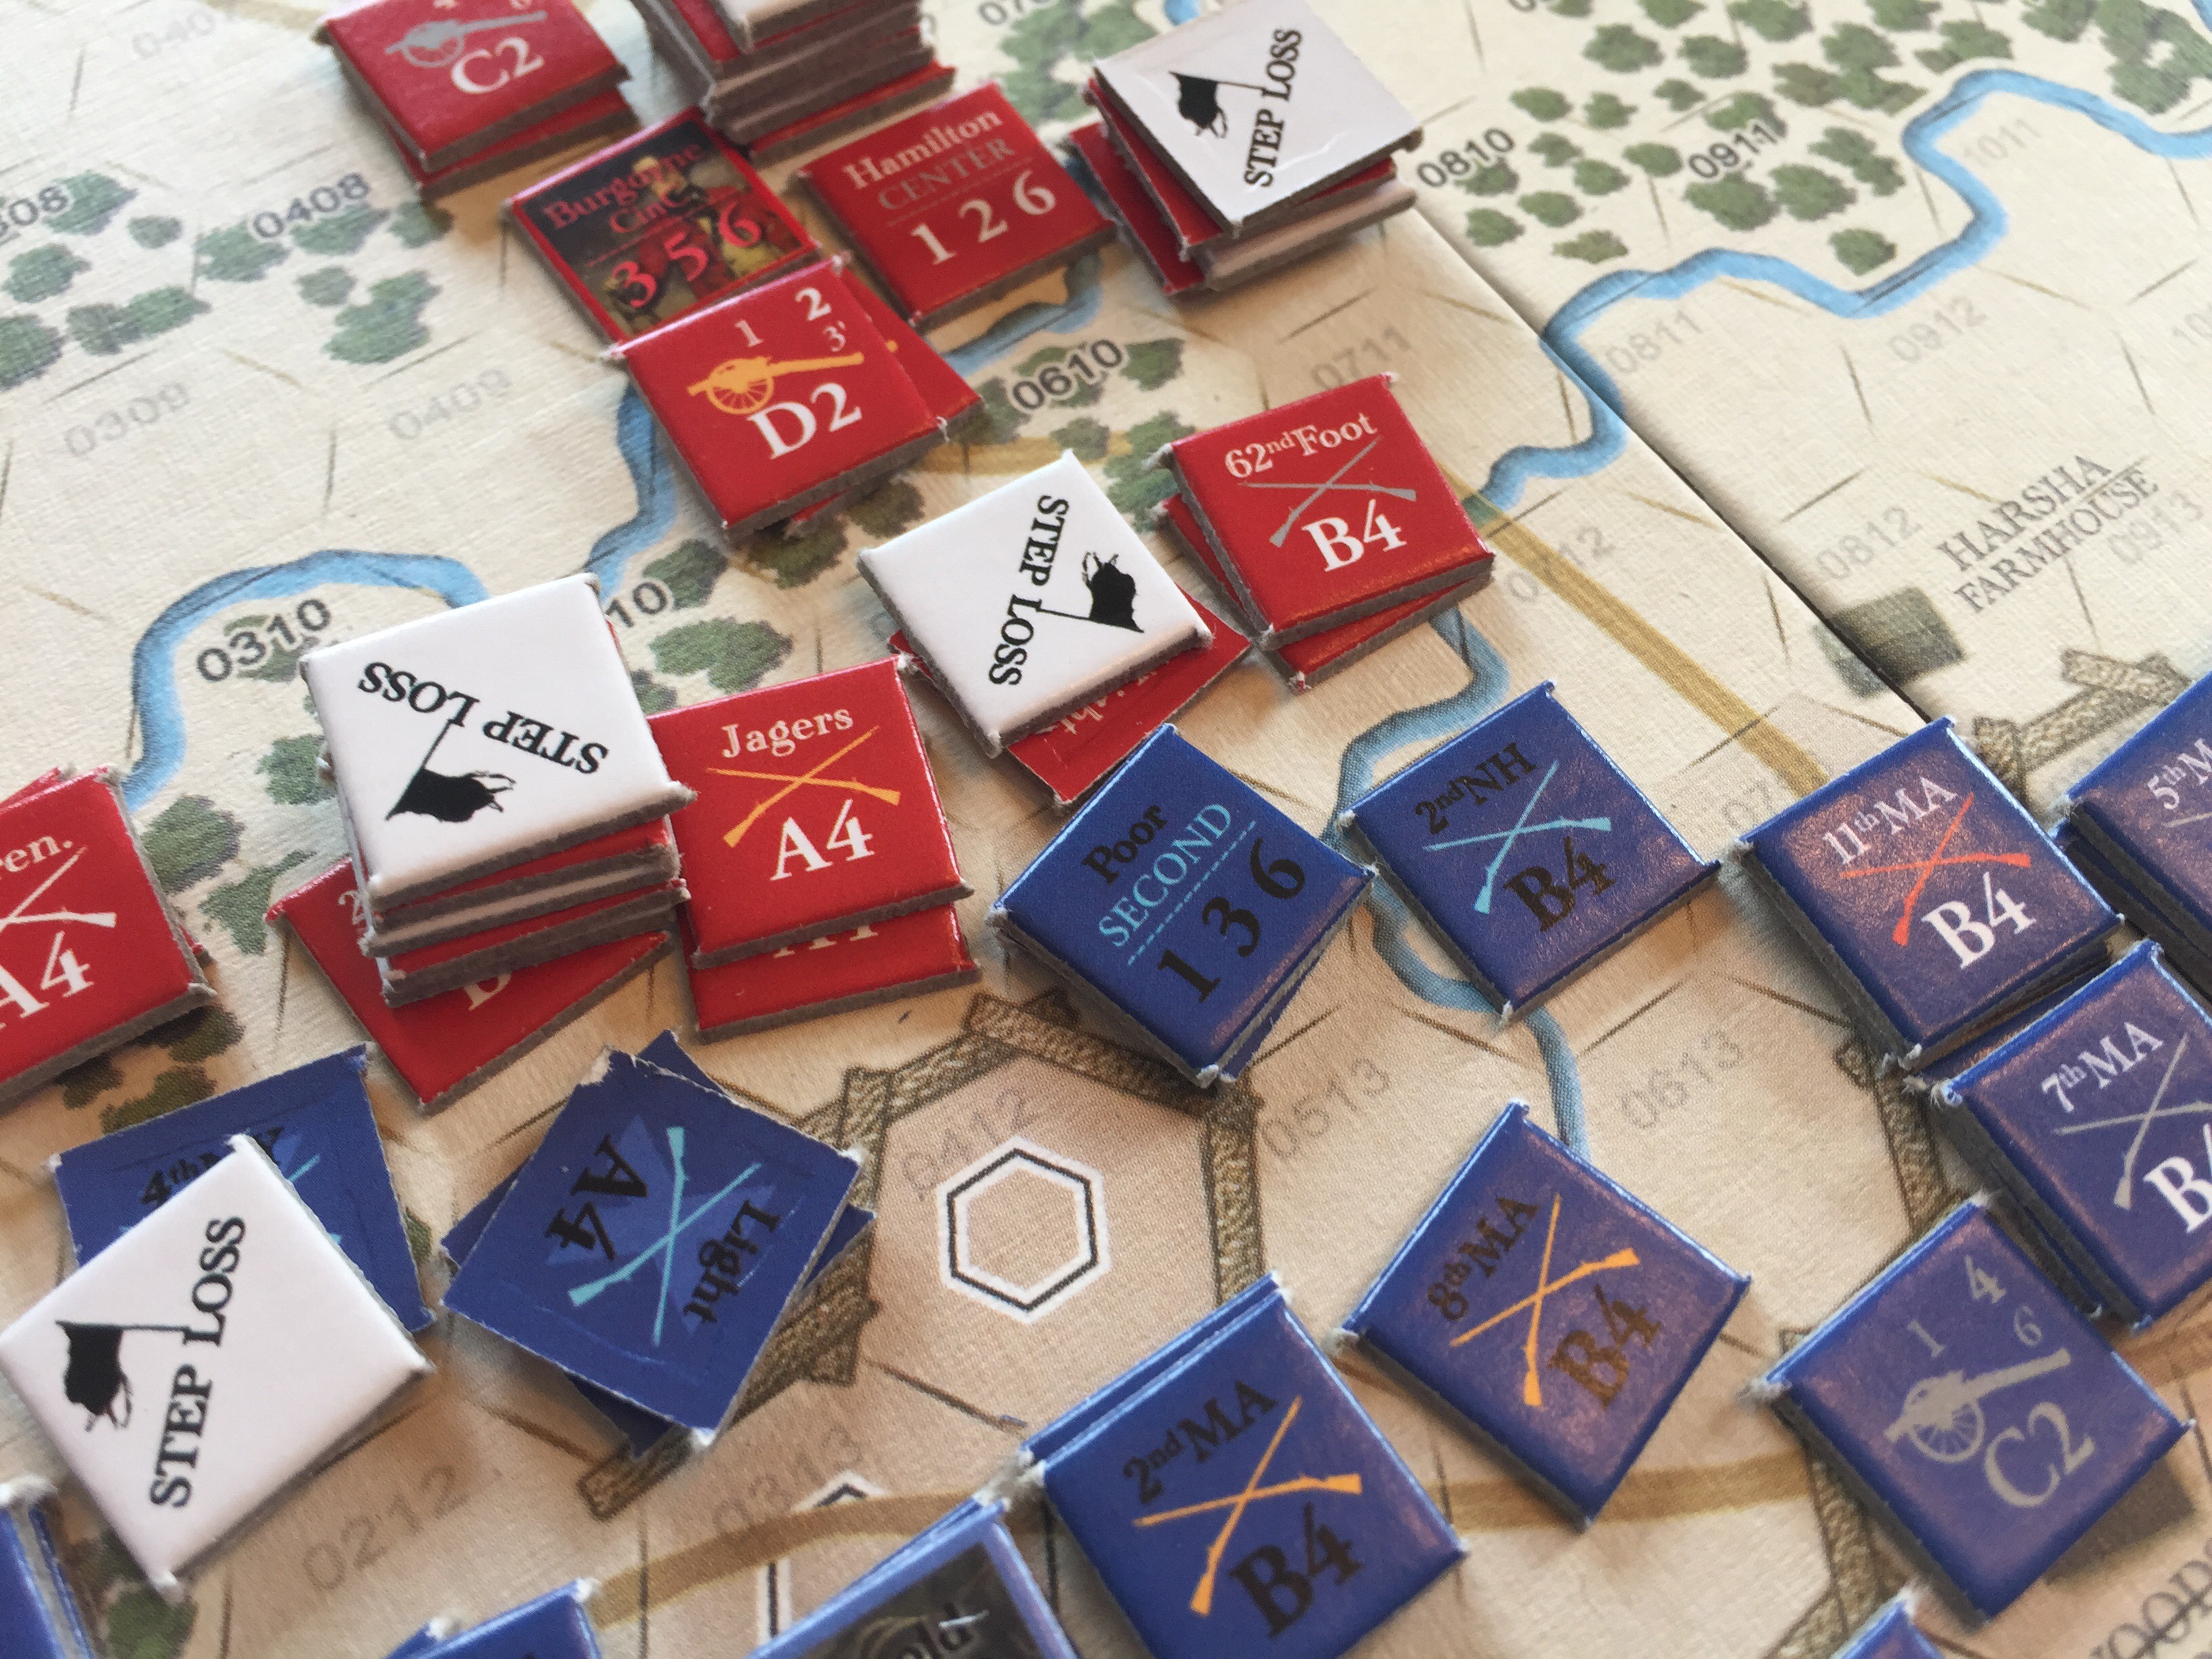
 During Turn 6, my British had been pounding away at the Patriots and nearly had those commanded by Arnold (led by Poor) on the left wing of Fort Nielsen defeated when my Attack caused the whole column to break and retreat, running for their lives.
During combat, units who are hit have a Step Loss marker placed on top of them. Once they have accumulated 2 such markers, the markers are removed and the unit is reduced. They then can take Step Losses until, for a second time, when they accumulate 2 they are then destroyed. But even more devastating in the combat resolution is the morale check. Anytime a unit is flipped or destroyed (due to the accumulation of 2 Step Loss markers), they must make a morale check by rolling 2d6 and then checking against their current morale on the morale table pictured below. If they roll over the morale, they fail and become a Broken formation and must immediately Retreat one space away from the enemy. This then provides the attacker a free attack on the retreating units with adjacent phasing units, which is devastating. This will award the attacker 10 VPs and a Broken formation can never be recovered and must Retreat away from the enemy for the duration of the scenario.
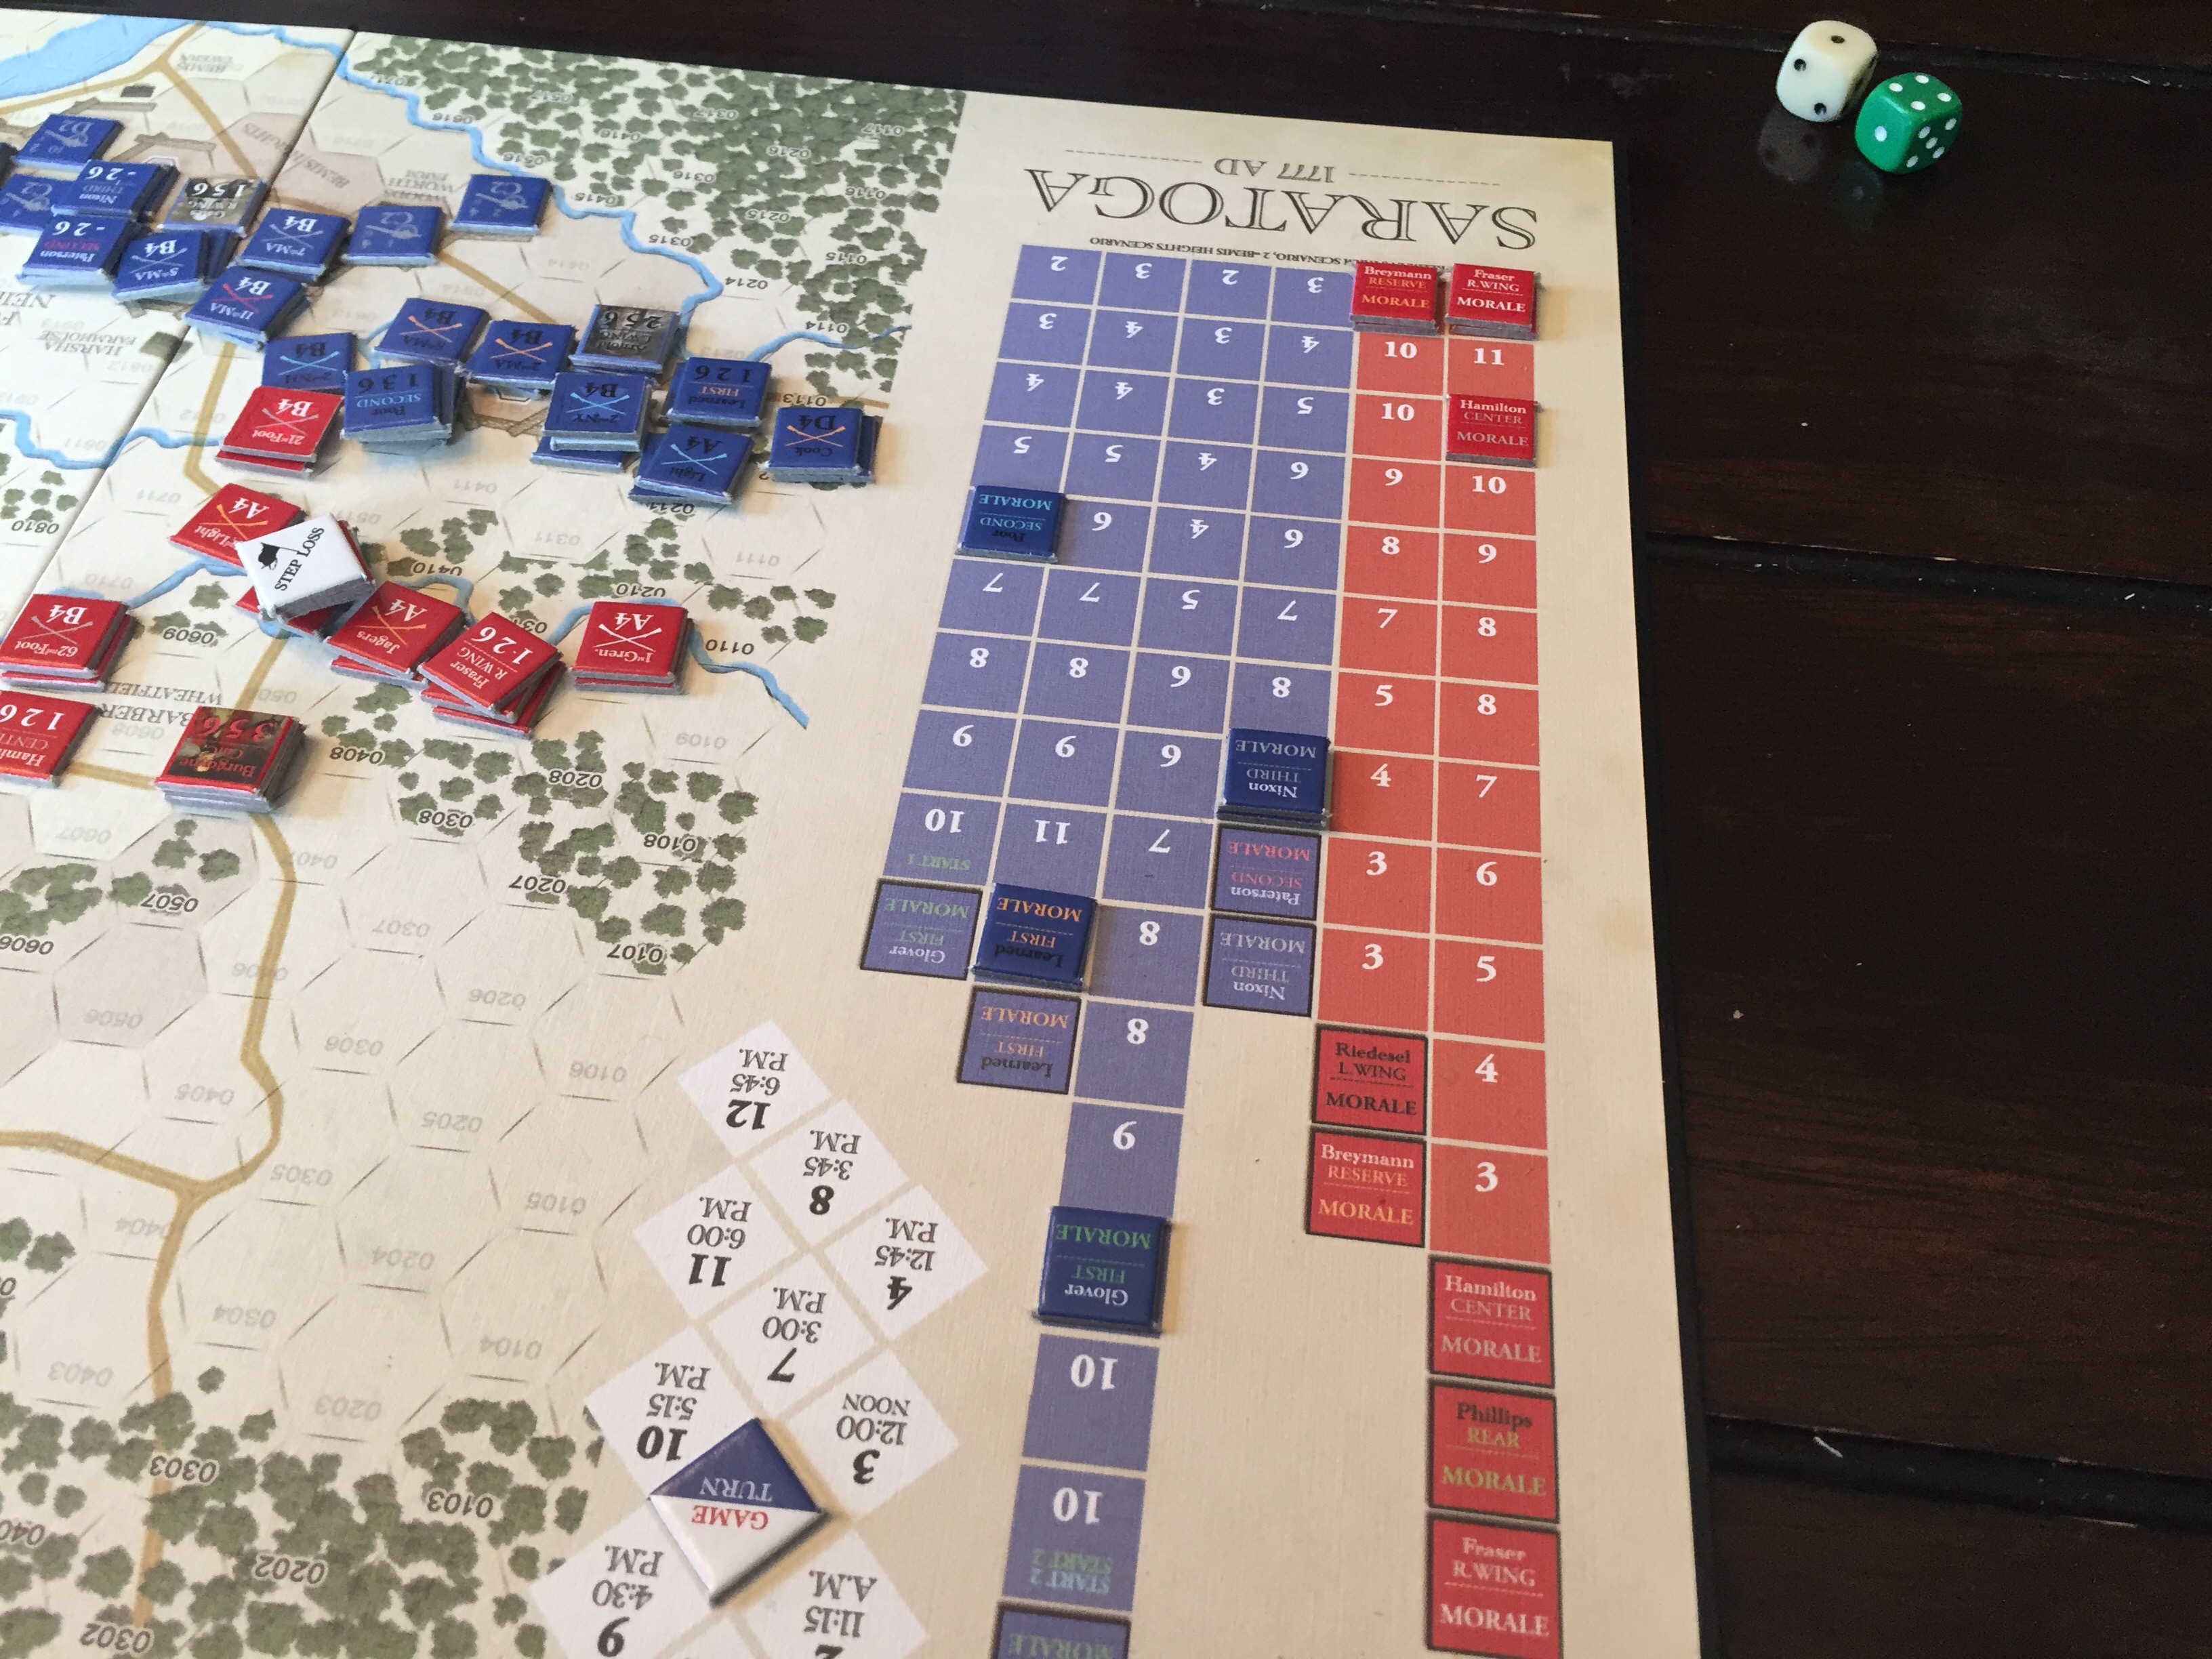
I really enjoyed the makeup of the morale table as it takes into account the quality of the troops making the check. For example, if you look at the above picture, you will notice the British side starts higher and reduces a little more slowly than the Patriot side. This is reflective of the fact that the British troops were seasoned, battle hardened veterans who were professional soldiers as opposed to the relatively poorly trained raw Patriot forces. The Combat in Saratoga is fantastic and was definitely our favorite part of the experience. The game is well made and most importantly fun to play. If you are a fan of the Revolutionary War, I recommend you pick this game up.
-Grant

As a relatively new convert to hex and chit, I really enjoy reading your action points/reviews. I am more of an ancients/WW2 player, but you convinced me to put this game into my collection as my first RW game. Cheers!
LikeLiked by 1 person
You will enjoy it!
LikeLike