
A few years ago, we became acquainted with Andrew Rourke through his Coalitions design from PHALANX that went on to a successful crowdfunding campaign. He has since been a busy guy with starting his own publishing company called Form Square Games and also starting the first design in a new series called Limits of Glory that will take a look at the campaigns of Napoleon. In Campaign I, which is called Bonaparte’s Eastern Empire, the game is focused on the campaign of the French in Egypt between 1798 and 1801. It covers everything from the invasion fleets leaving France trying to avoid Nelson and the British Navy, to the final surrender of the remnants of the French Army to an Anglo-Ottoman force in 1801. The game is very interesting and uses some new ideas to focus on the luck and skill of commanders through a mechanic called the Glory Rating. This Glory Rating can be used as a type of currency by commanders to do several things such as reroll dice for movement or in battle. This becomes a sort of push your luck and resource management aspect and the players who more wisely use this scarce resource will find themselves victorious.
In this series of Action Points, we will take a look at the area movement Map Board and get an understanding of the various features and also how armies navigate the hostile terrain of Egypt, examine the Event Clock and discuss how it effects the game, discuss the use of the Glory Rating for commanders and what it represents, show a few examples of movement, combat and sieges and finally discuss the path to victory for both the Coalition forces including the British, Ottomans and Mamluks as well as the mighty French forces.
Map Board
The Map Board covers a distorted and abstracted area of Egypt, Syria, and the Mediterranean Sea. The distortion is used to create a somewhat more approachable play area and to create various areas that are connected and lead to cities and towns called BUA’s (Built Up Areas) where troops are typically stationed and where fortresses cause the need for invading armies to besiege them to conquer them for their own. All of the art in the game, and that you will notice on the Map Board itself, is created by contemporary political satirical cartoonists James Gillray, Isaac Cruikshank and George Cruikshank. Their style mimics the style of various political cartoons and drawings that would have appeared in the newspaper of the day telling the story of the campaign in Egypt as it unfolded. The European public at this time would have had no idea what Egypt was really like. They depended on paintings and written descriptions, but more importantly, for the masses their only depiction of events would have been through the cartoons of artists like these. So in a way these cartoons are a primary source of information about how the public saw these campaigns.
One thing that I truly like about the Map Board is the use of very garish colors in yellows, blues, greens and tans. The area of the campaign was both an arid and lush area and these different colors identify those areas on the board.

One thing that you will immediately notice is that the various spaces on the Map Board each have a number value of between 1 and 4, which indicates the number of dice to be rolled to activate elements in that space. Dice rolls will only succeed on a 5 or 6 and fail on 1 to 4. Only one dice success is needed to activate the space. Therefore spaces with a value of 1 will be harder to move out off compared to spaces with a value of 4.
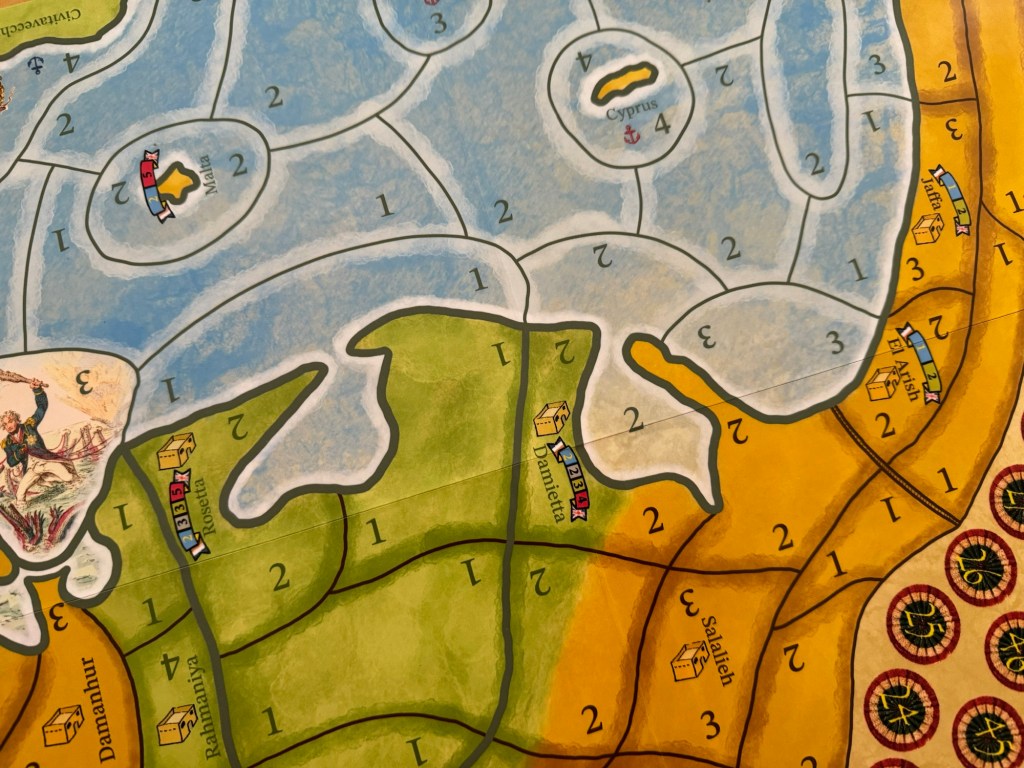
You will notice that the values on the spaces are not random and represent the conditions of the spaces, their connections, terrain and other aspects that would effect the movement of troops. Low numbers can represent areas of desert that were hard to move through due to lack of water or large distances of ocean that took a long time to cross and were susceptible to storms or windy conditions. Higher space values represent a better ability to move through those areas due to less severe or flat terrain, overall smaller distances or even more accessibility to forage and supplies for the troops.
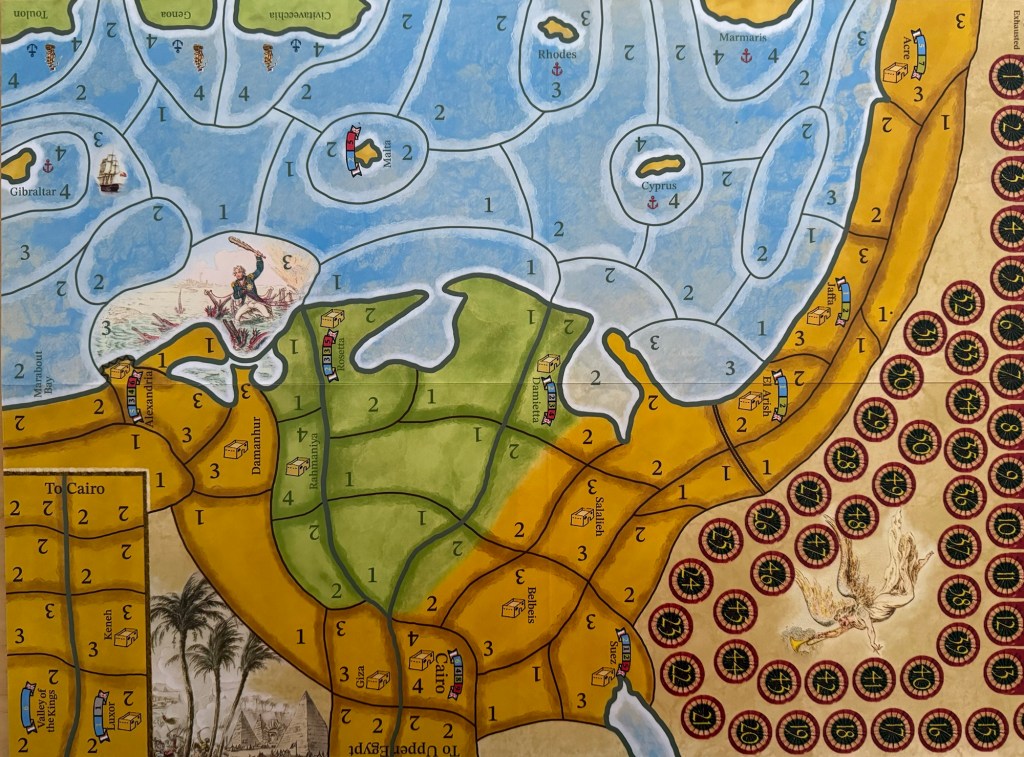
One other focus of the board is the crossing of the French fleets across the Mediterranean Sea. You will notice that there are French Fleets dawn in spaces adjacent to the Italian ports of Toulon, Genoa and Civitavecchia. The ports are identified with the black anchor symbols. Notice that these spaces all have a value of 4 printed in them so it is very easy for the French to leave these ports and get out into the sea and on their way to mainland Egypt and Syria. But, once they hit open water, the trip gets much harder with values of 1 and 2 for the most part. Also in the area is Lord Nelson’s fleet anchored off the space in Gibraltar. They are awaiting the French fleets and must chase them down to identify which of the 3 fleets are the real fleet carrying Emperor Napoleon and his armies. If Lord Nelson catches the correct fleet, it will not be destroyed, but will then make it to Egypt with less troops than if they had made it cleanly. This is a very interesting aspect of the game as it a bit of cat-and-mouse that takes just a few turns to adjudicate but can make a pretty significant difference in the power that Napoleon will arrive on the mainland with to go campaigning.

One very specific part of the board is the presence of the Island of Malta. This space can be visited by the French fleet and when it reached Malta, its movement will end there and a Momentum Marker is placed in the space. The fleet will gain a Visited Malta Marker and can move again in the next French turn. The French player may also gain two victory points for having a garrison in Malta at the end of the game. The British player can gain five victory points if they invade later in the game and conquer Malta.

Another interesting part of the Map Board is the area around Alexandria. Alexandria’s sea walls protects the city from invasion by the sea. While Alexandria is controlled by the British, the BUA (Built Up Area) or the space containing the BUA may never be attacked by land elements from a sea space, even if Alexandria is unoccupied. However friendly elements may be disembarked from an adjacent sea space straight into Alexandria. I really like the nice drawing of Lord Nelson wielding a cudgel here as he destroys the enemy fleets in the form of red crocodiles. A truly interesting image!

Generally, the French forces will look to land in the area where Egypt meets Syria around the BUA’s of El Arish, Jaffa and Delmietta. This is prime shallow harbor to land in and embark onto the land. This area is preferred because it allows flexibility to decide where to invade and what armies to split off and move in different directions. One force more than likely will move toward to the east and towards Acre through El Arish and Jaffa while another force will move to the southwest toward Lower Egypt through Salalieh, Belbeis and Suez.
While spaces such as Belbeis and Suez are important to move through and control, they will not provide any victory points to the French for controlling them. The absence of the banner with the colors of green, red and blue in them means there are no victory points grants. These spaces mainly are controlled to prevent future Syrian, Egyptian and Ottoman forces from spawning there and attacking.

The main prize for the French is Upper Egypt and the extremely important spaces of Cairo, Luxor and the Valley of the Kings. These spaces are worth significant victory points and it is important for the defenders to place their limited forces wisely to slow down the advance of the French forces. The Mamluk and Ottoman defenders will not be able to consistently win in combat but must put up a good fight and force the French Commanders to burn their Glory to reroll their dice during combats, sieges and movement.

One other note about Upper Egypt. In order for the French to earn a Total Victory, they will have to control Alexandria, Cairo, Rosetta, Damietta, Luxor, Suez, El Arish, Jaffa and Acre at the end of any turn and the Savants Marker has to be located in the Valley of the Kings. This means that the French will have to traverse all the down through Upper Egypt to deposit the Savant piece in the Valley of the Kings. This is not easy to accomplish and should be a great challenge for the French player.
If the British and Ottoman armies simultaneously control Alexandria and Cairo at the end of any turn. this would be considered an Allied Total Victory as this would prevent France from claiming Egypt as a colony at the Peace of Amiens.

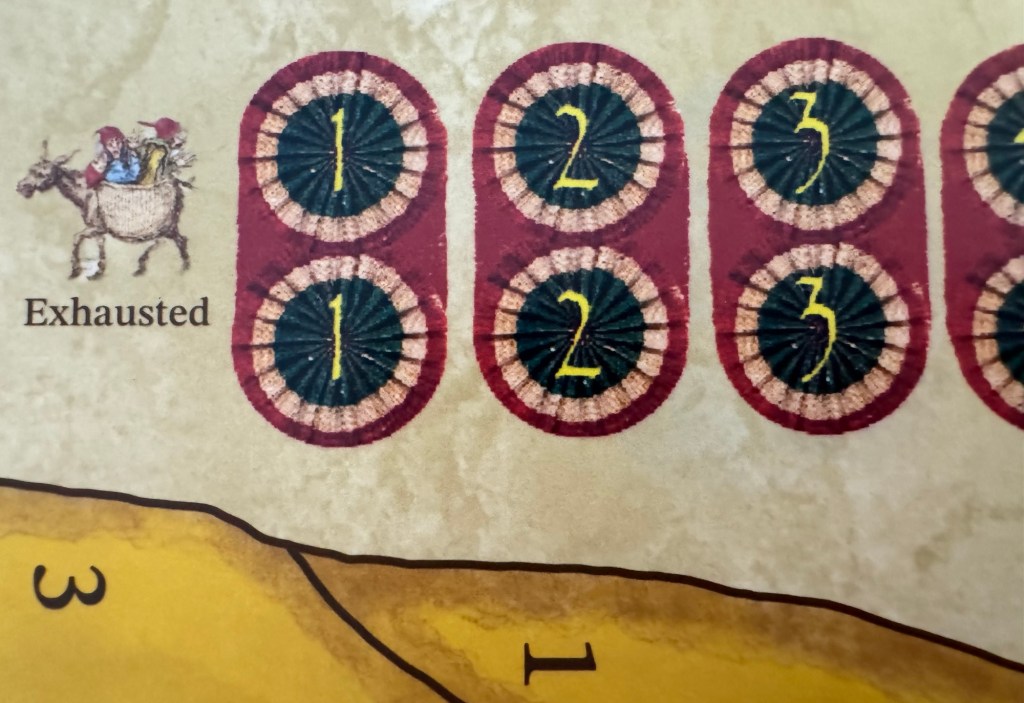
The final part of the Map Board that I wish to show you is the Number Track which tracks several different important aspects of the game. On this track the players will keep track of their Victory Points but most importantly the status of each of their Commanders and their Glory. This Glory is a resource and can be used by both sides to re-roll dice for combats, sieges and movement. Keeping track of this can be a bit messy as their will be anywhere from 10-15 Commanders on this track at any given time and there are several different markers that must be kept correct. I was not in love with the look of the Number Track when I first saw it as I opened the game but it has grown on me and I actually kind of like that it fills the space and follows the flow of the land in the east.

At the end of the Number Track is the Exhausted space where Commanders who have used up their allotment of Glory will end up. This doesn’t mean that they are killed but that they cannot be used to lead troops because they do not have the ability or any Glory remaining at this time due to an extended campaign and the rigors and stresses caused by this leading.
I hope that you have enjoyed this walk through of the Map Board and a discussion about the very interesting system used in the Limits of Glory Series. We had a great time with this game and truly enjoyed the design and what it was trying to do. We will discuss various aspects of the design in the following entries in this series and I look forward to sharing it with you.
In Action Point 2, we will examine the Event Clock and discuss how it effects the game.
-Grant
